
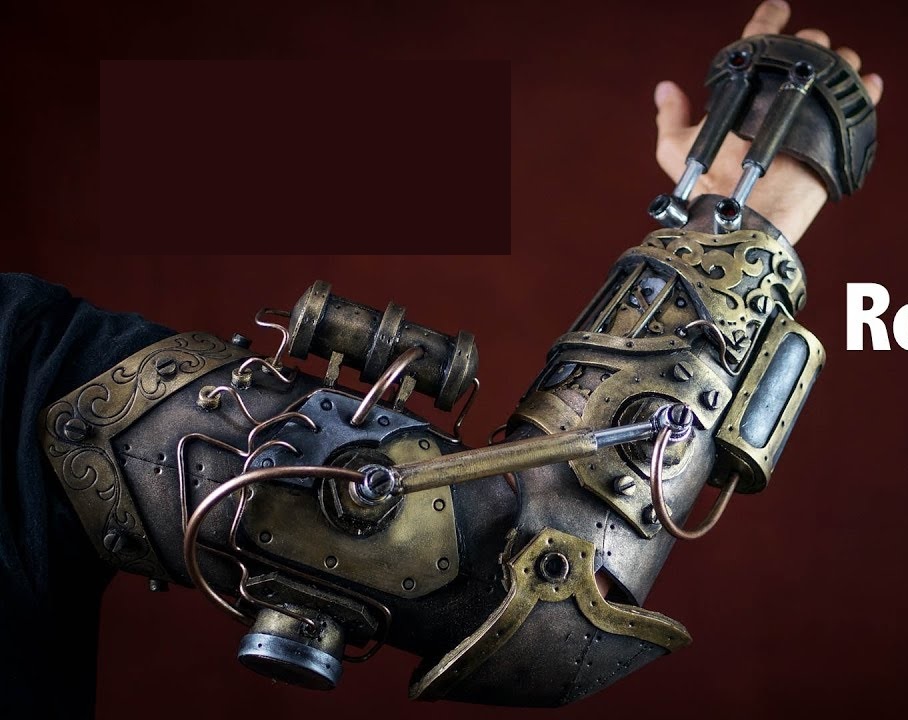
Recently, I visited an Anime and Cosplay convention. Although I rarely watch any Anime, I do enjoy crafting costumes and in particular steampunk-esque things. Of course, I could not let the opportunity pass. So I decided to dress up as a steampunk gentleman.
Nixie Tubes
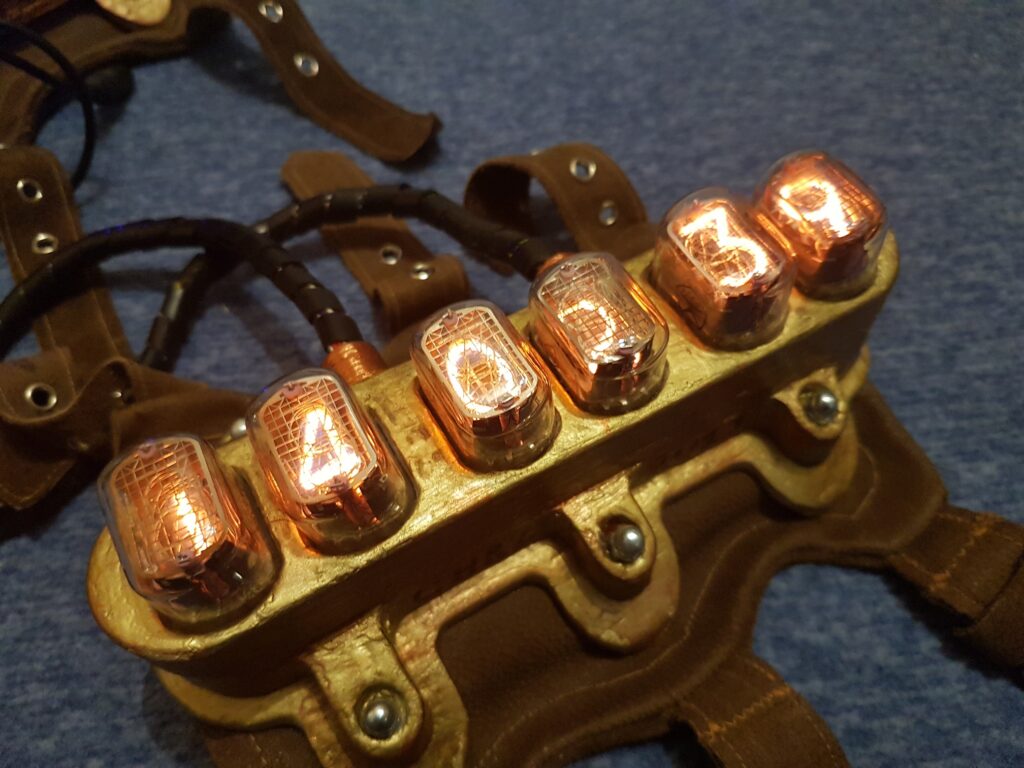
I always wanted to build something with Nixie tubes. Those are cathode vacuum tubes, which include multiple cathodes in the shape of digits or letters. Essentially, those devices were used to display numbers before the advent of LCD technology – especially in soviet russia.
I got my nixie tubes (IN-12b) from a russian seller on ebay, who apparently sells old stock. Sadly, those tubes are not made anymore nowadays – or only by hand at request for a lot of money. I also bought some driver ICs from the same era, but there are modern equivalents available. Additionally, I picked up a 180V power supply board from a chinese seller.
After some initial testing, the tubes lay unused in a box for almost a year, until I decided they were the perfect match for my steampunk project. I wanted to build something truly awsome. So, naturally, I checked the internet for some inspiration.

The Idea
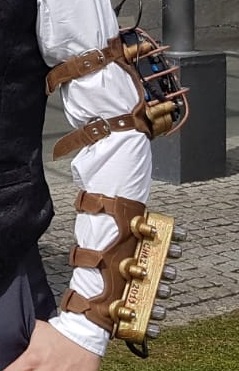
In the end I settled on a “Nixie-Wristwatch”. This device would have to be stapped to my upper and lower arm, and display the time or something using Nixie tubes.
Leather Patches
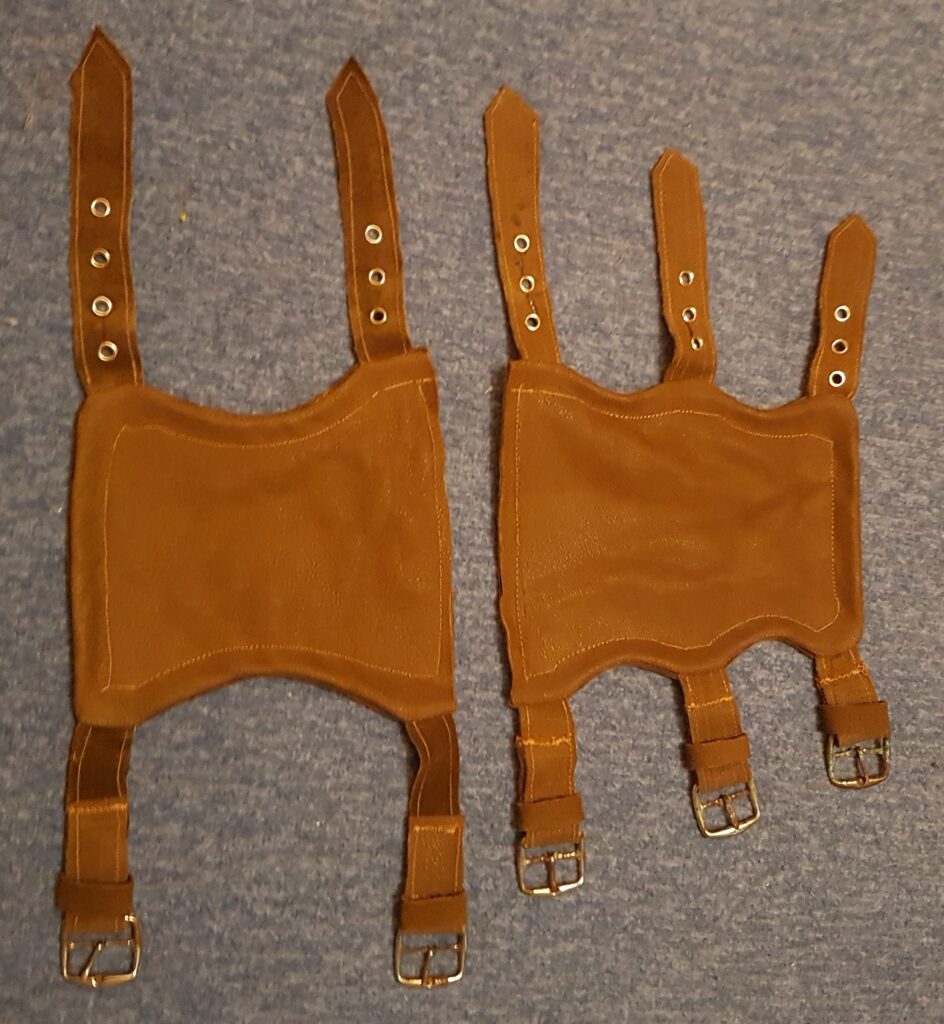
To strap the device to my arm, I wanted to mount it to some leather, and secure that using rivets and straps – in true victorian fashion. Although I have quite some experience at several crafts, sewing leather is definitly not my strongest suit (pun intended). Luckily, my girlfried is skilled at sewing and kindly agreed to fabricate the leather parts, saving my project – and probably my fingers. After sourcing some old leather and straps from the basement, we could begin.
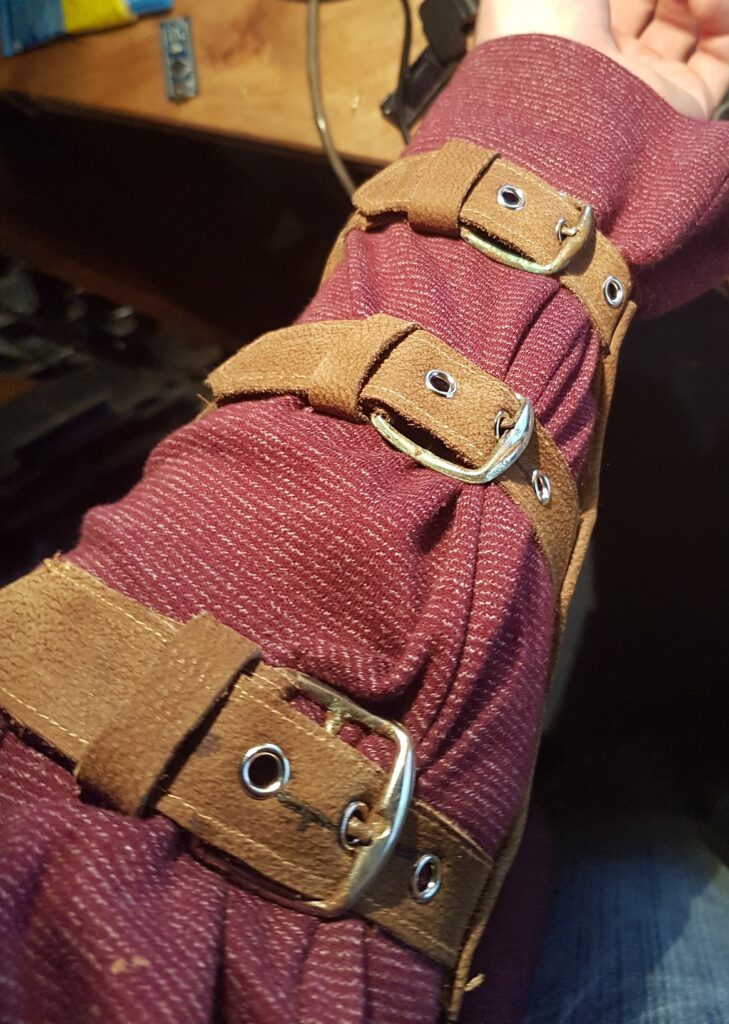
The staps fit snugly around my arm. 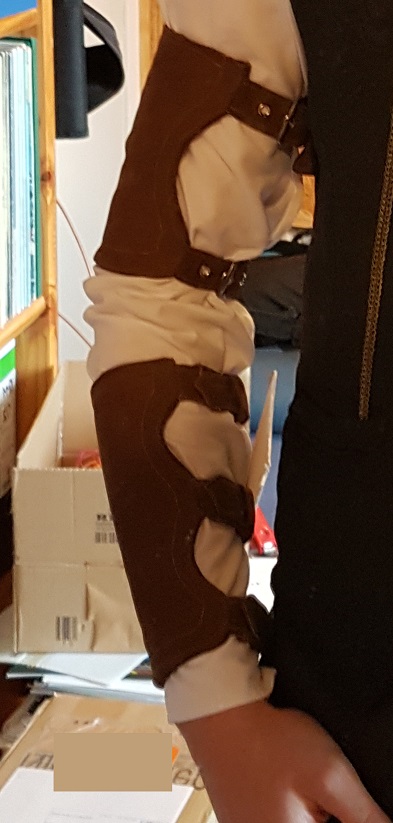
Final adjustments made.
Structural Parts
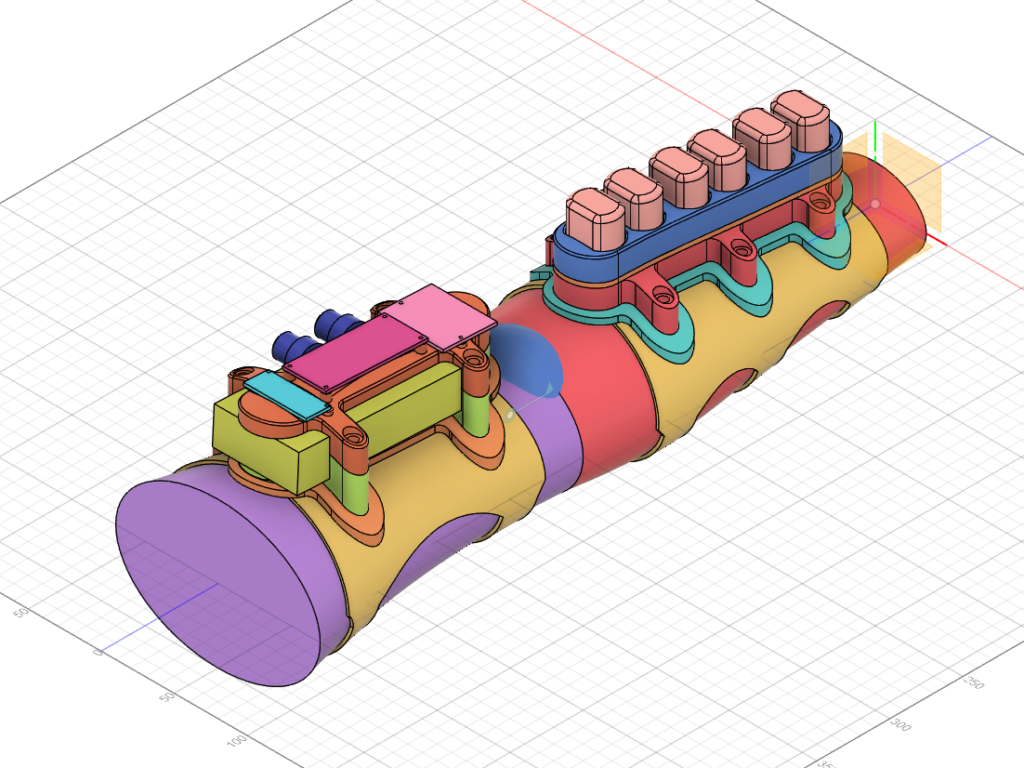
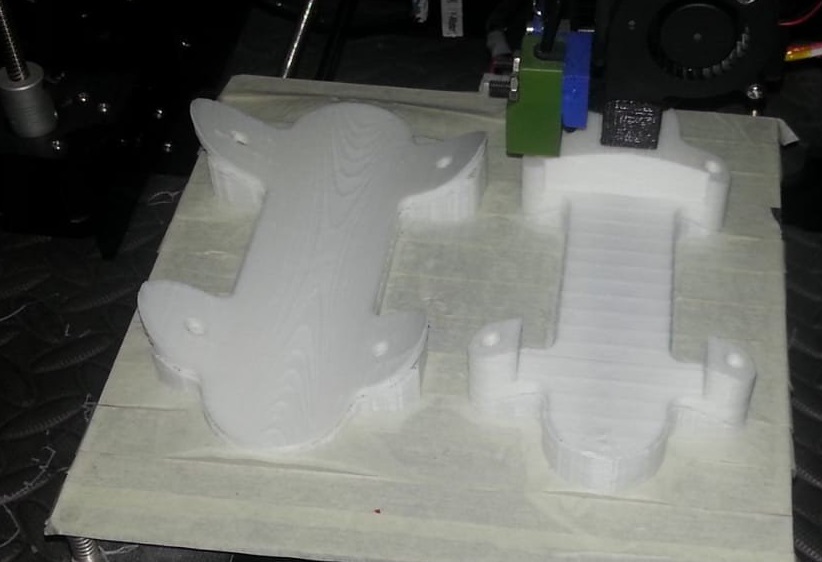
All “fake brass” parts I 3D-printed, sanded, sealed and painted to look like metal. All parts were printed in several layers (see CAD model), to allow for wiring etc. to be hidden. The layers were then assembled using screws.
Electronics
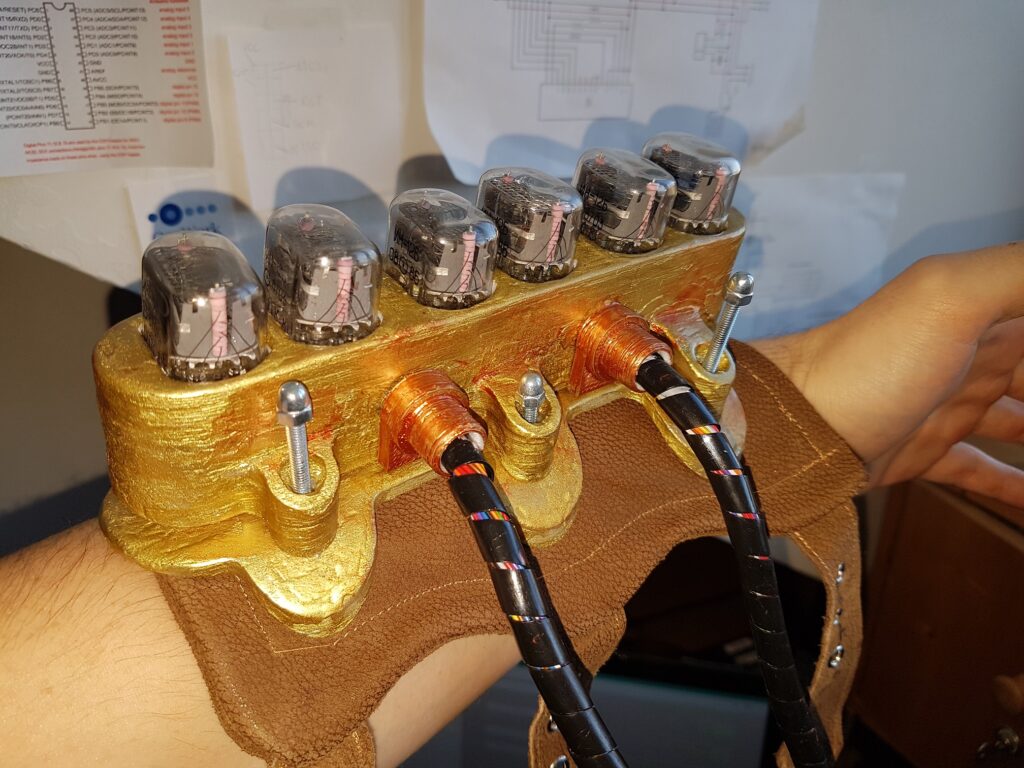
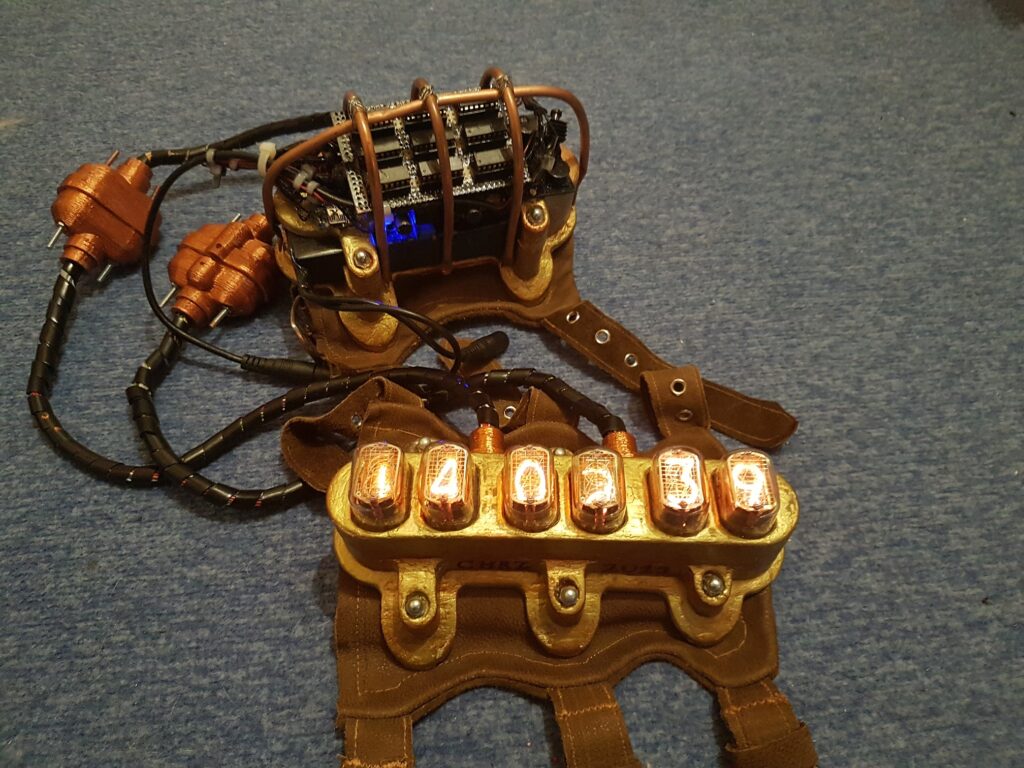
To mount the Nixie tubes in their pockets, I glued some tube sockets pins into the bottom of the 3D-printed part. Then I ran a lot of wires to the top piece, where the battery and control logic (Arduino) are housed.
These were the parts I used:
- IN-12b Nixie Tube * 6 (https://www.ebay.de/itm/281664135380) ~16€
- K155ID1 driver IC * 6 (https://www.ebay.de/itm/231527012664) ~10€
- 74HC595N shift register IC * 3 (https://www.reichelt.de/shift-register-8-bit-2-6-v-dil-16-sn-74hc595n-tex-p217325.html) ~3€
- Nixie Tube Socket Pins * a lot (https://www.ebay.de/itm/251173320805) ~10€
- Power supply board (https://www.ebay.de/itm/111822987299) ~10€
- Arduino Nano (https://store.arduino.cc/arduino-nano) ~5€ Clone
- Buck DC-DC Converter (https://www.amazon.de/gp/product/B01GJ0SC2C) ~3€
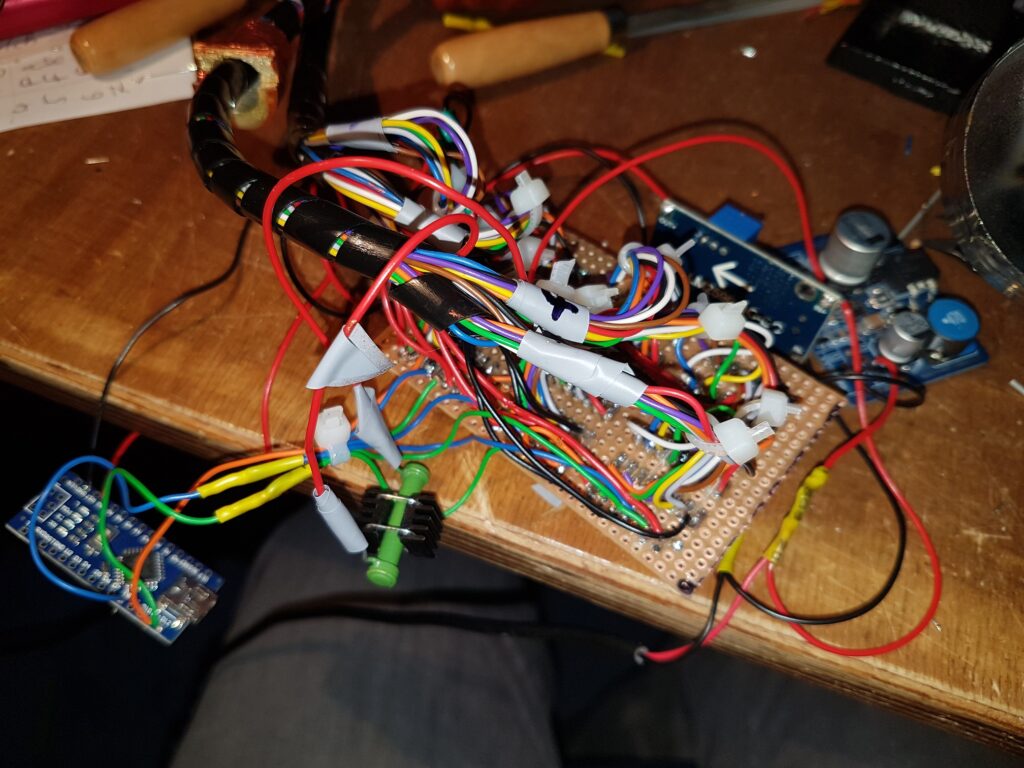
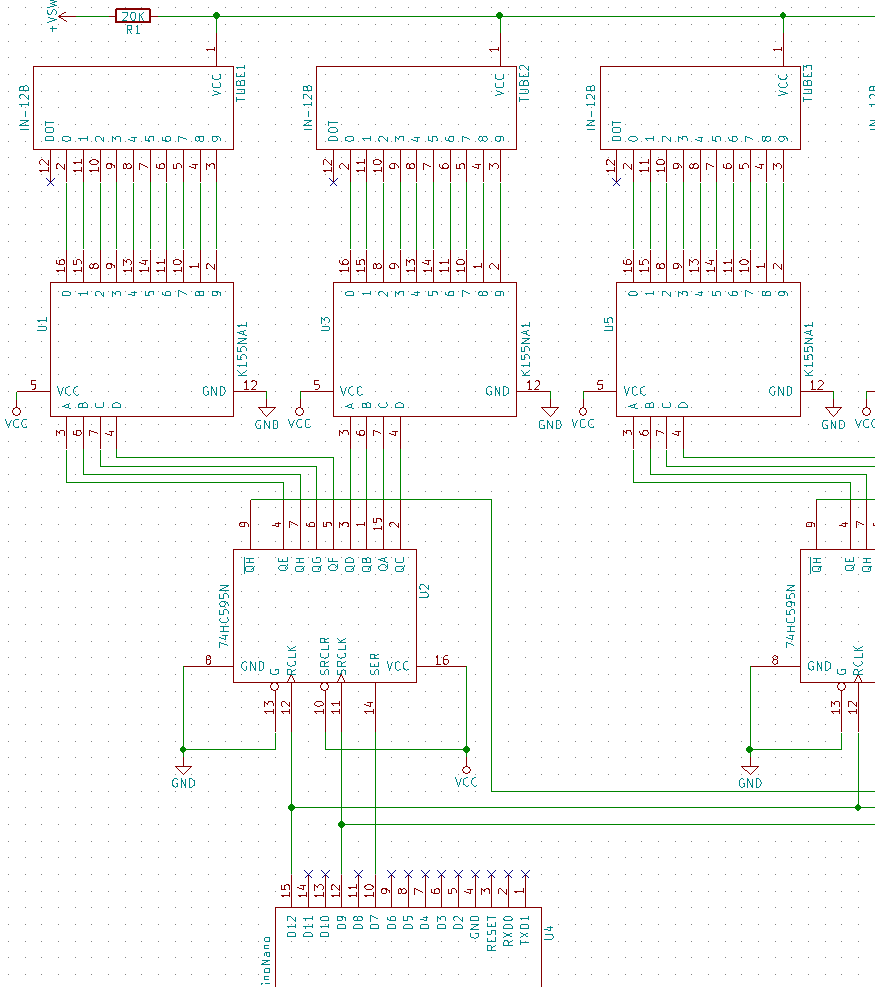
Each Nixie tube requires ten high voltage inputs. Unfortunately, the Arduino does not have sixty high-voltage pins. So I used thee shift registers which operate on five volts to power the six driver ICs, which can handle the high voltage. This works because each shift register outputs one byte of data, and each driver chip requires only a nibble of data, so one register powers two drivers. The registers are then daisy-chained together, such that the Arduino controls them as one big three-byte register.
After wiring everything up, I wrote a small program for the Arduino, which picked random numbers in 2-sections and then counted up, and also did some more stuff that just “looked cool”. Because I did not have the time to add an RTC module, the watch does in fact not display the current time. However that could be an idea for the future.
Also, I made some kickass plugs to connect the lower and upper piece.
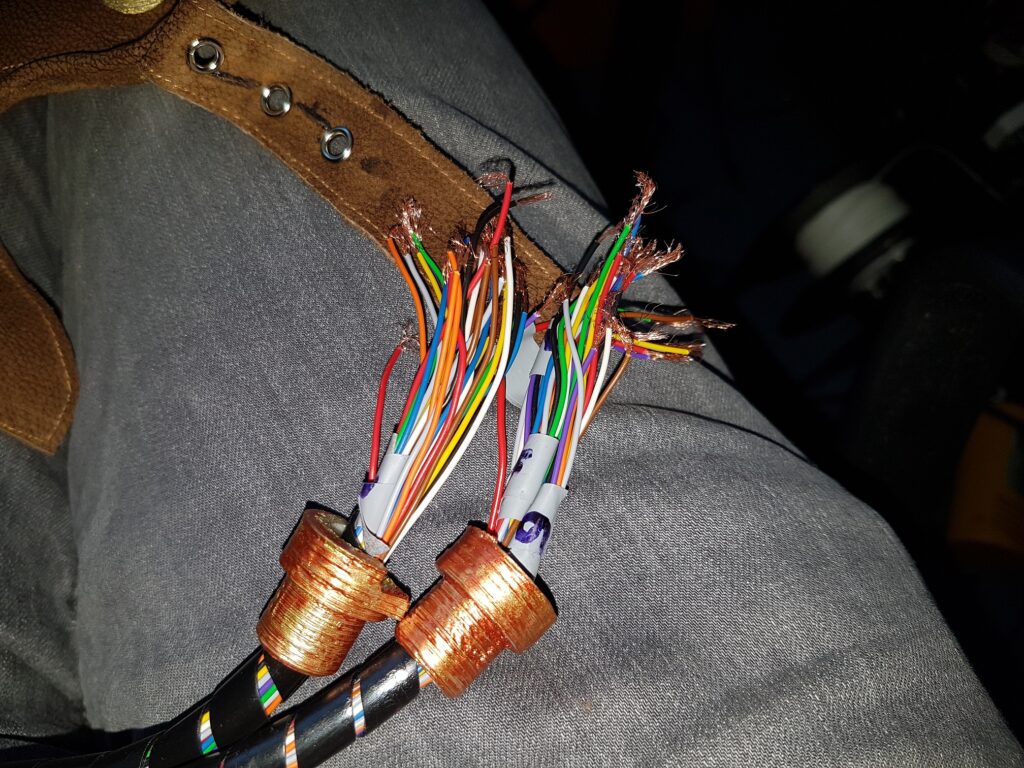
That’s a lot of wires. 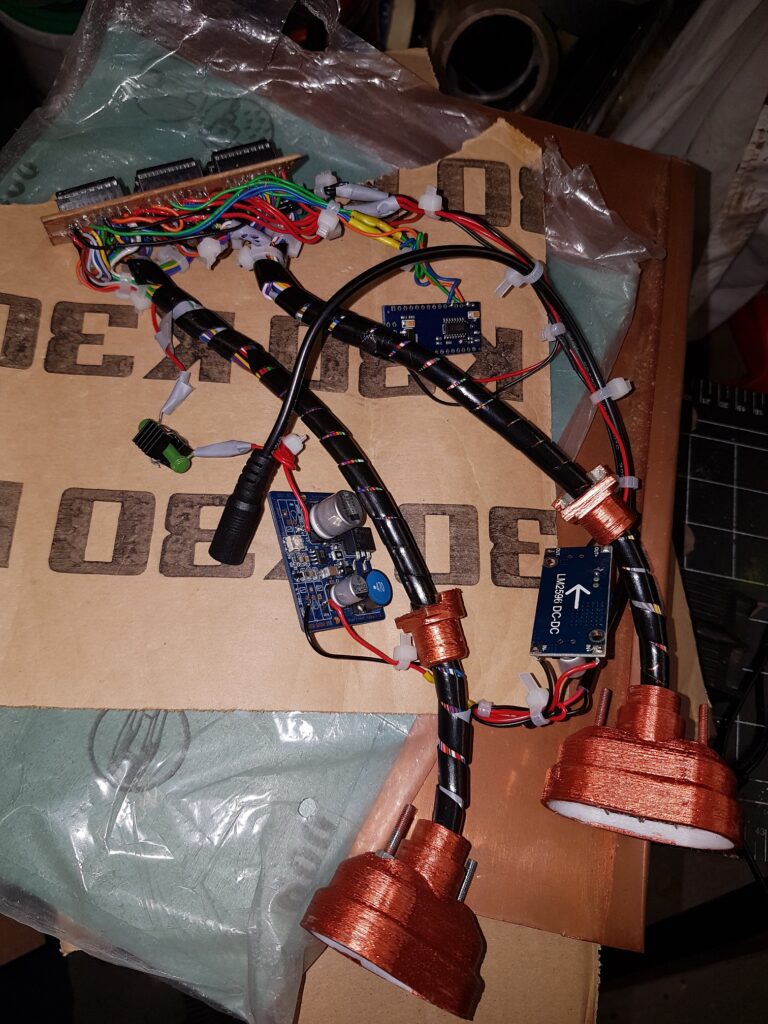
Those plugs tho.
Finishing Up
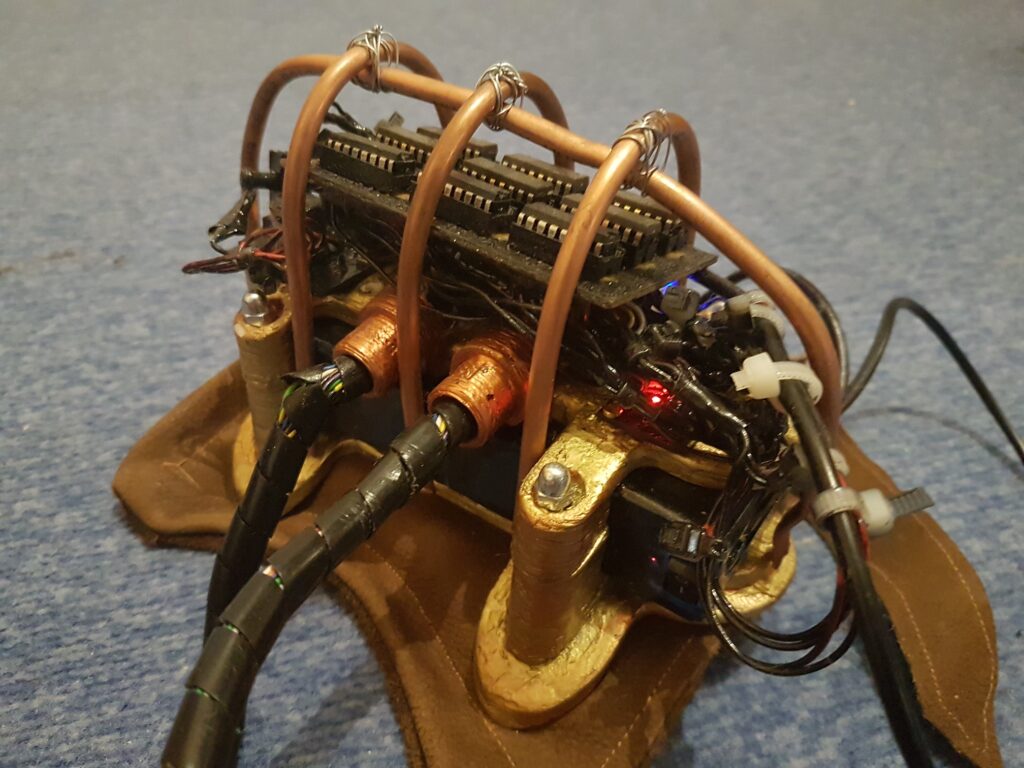
I gave the electronics a coat of black paint, and built a cage from copper pipe so they wont be damaged.
Now, all that was left to do, was to wear it! Excuse the low image resolution, but I don’t want to share too many pictures of myself – so I cropped the important parts out.
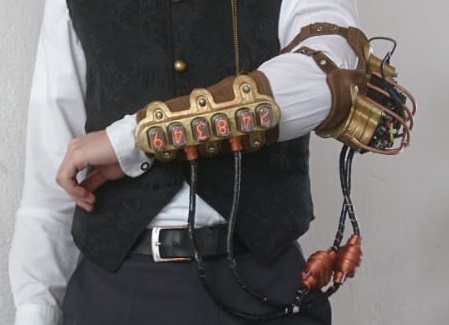
This project was great. Even though it took a lot of time and effort, I think it was worth it. We had a blast at the convention and my armpiece cought a lot of looks and interest 🙂
Stay tuned for more steampunk projects, as I am planning on extending my costume.
Downloads
Here you can download the CAD model from the Fusion 360 cloud, and also the schematics as PDF:
- CAD: https://a360.co/36HiKvb
- Schematics: https://cloud.chrz.de/s/qeYo6qCEqFFMZoC