In 2018, I bought my first and only 3D-printer: The Anet “Firestarter” A8 DIY kit. A few months later, I wrote a post about what upgrades and modifications I did to this printer (No more firestarter). Now, in 2022, I once again upgraded this printer. Like the Ship of Theseus, at what point does it stop being the original printer? I don’t know, and I don’t care – this machine will always be my trusty workhorse, and I know each nut and bolt personally. I grew quite attached to it.
Upgrades
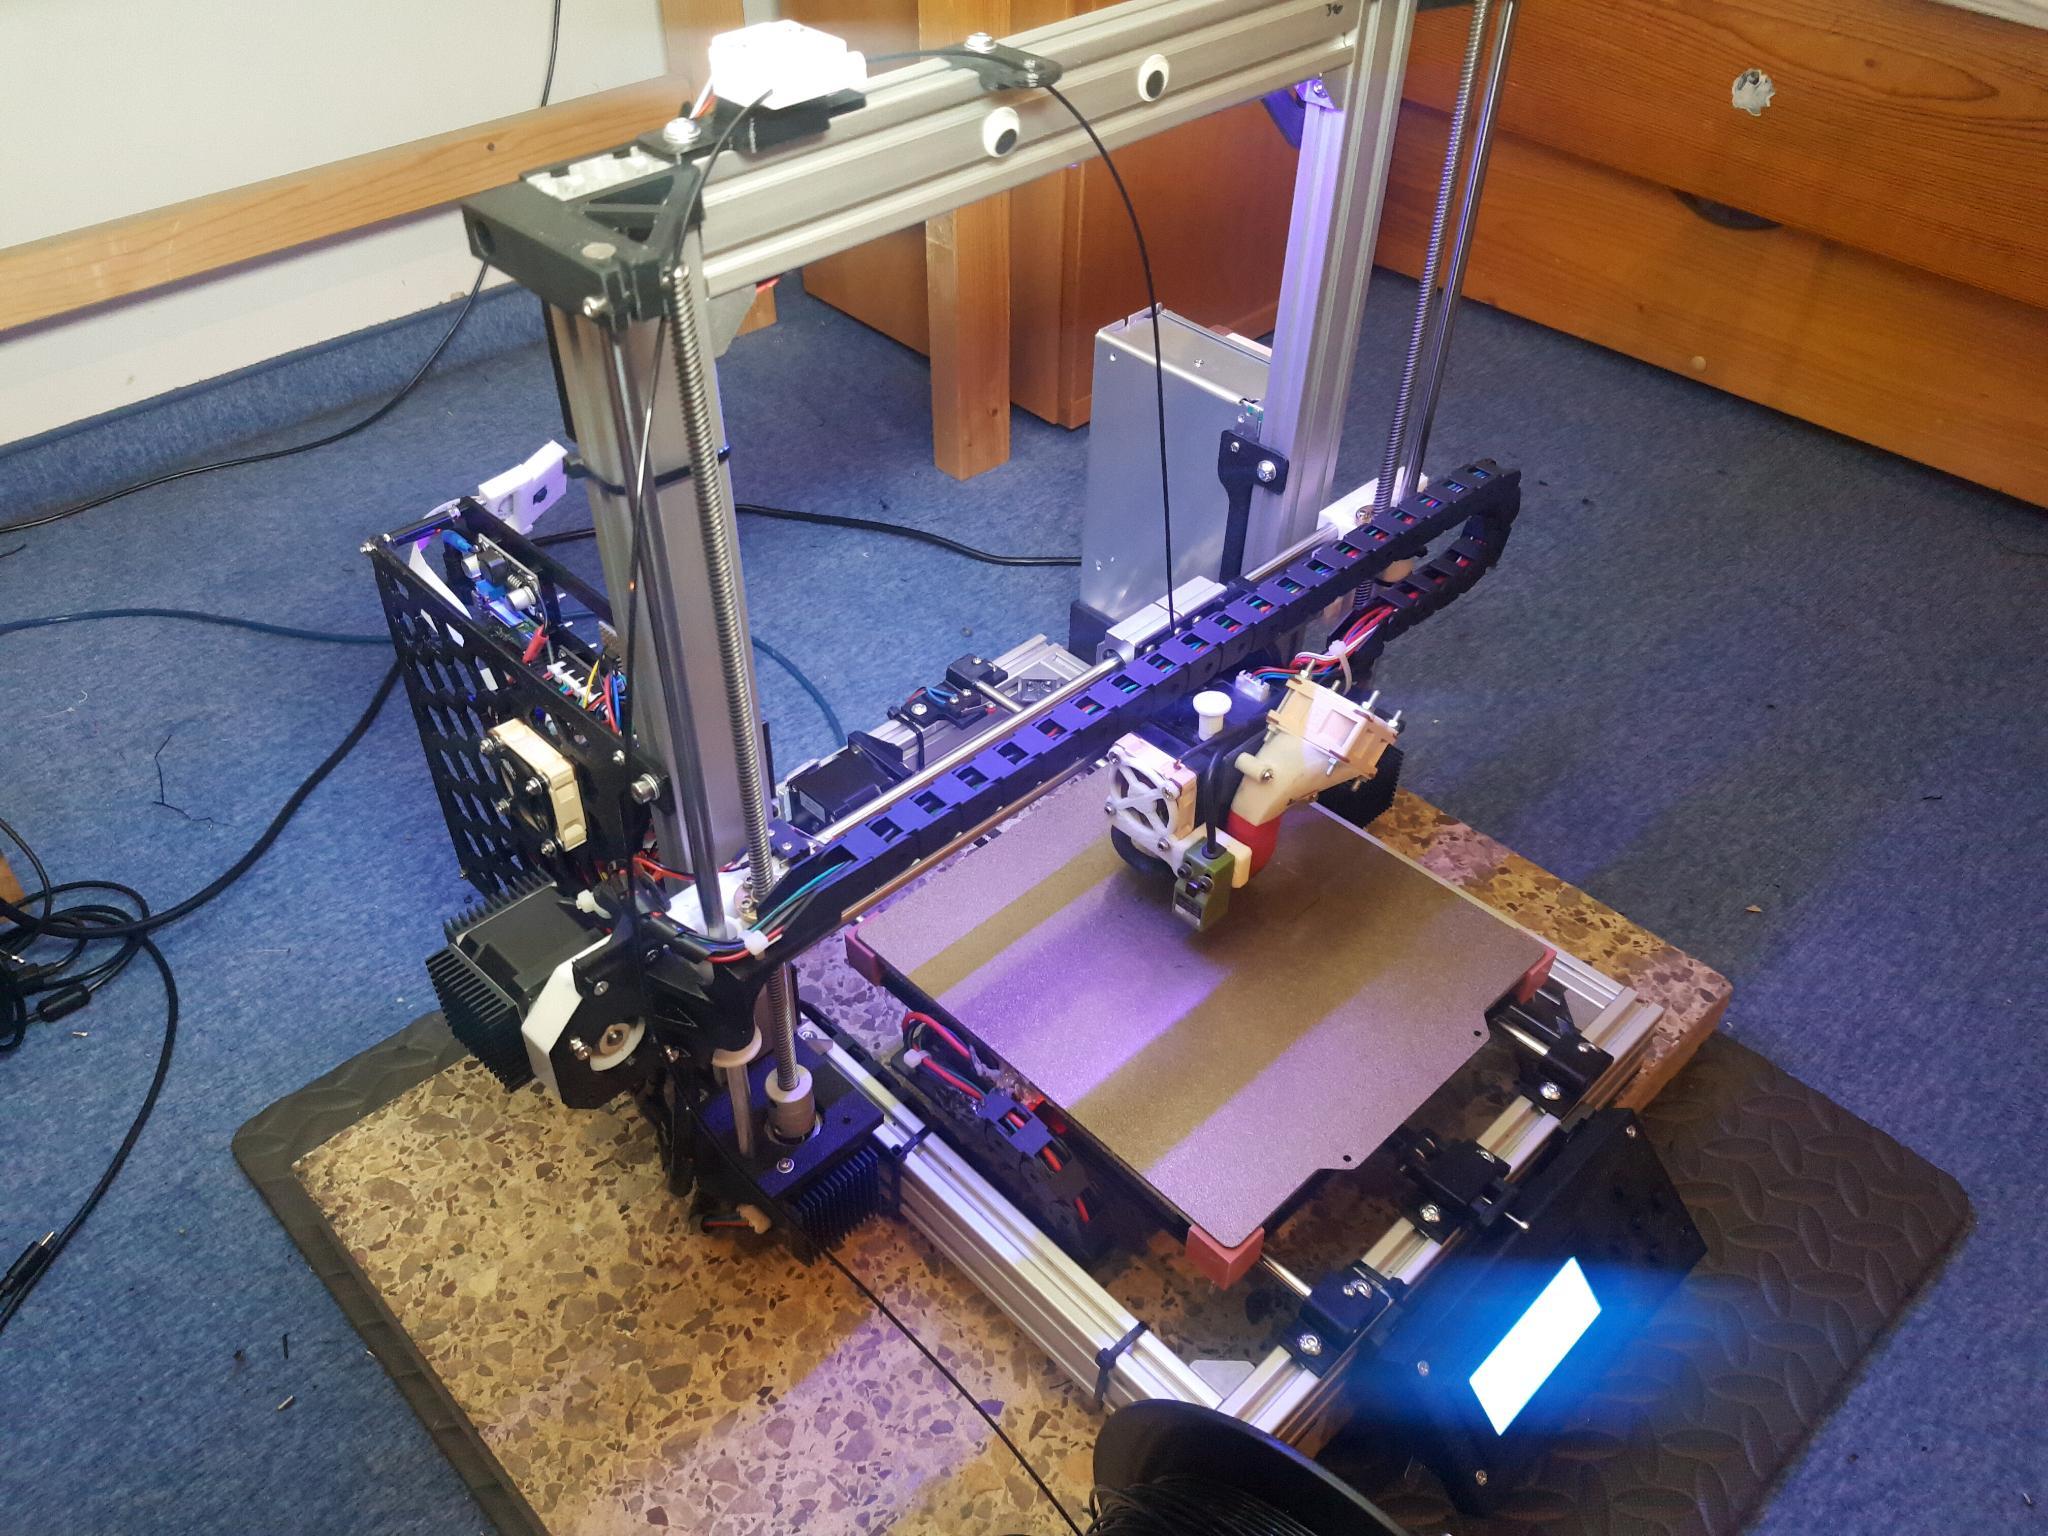
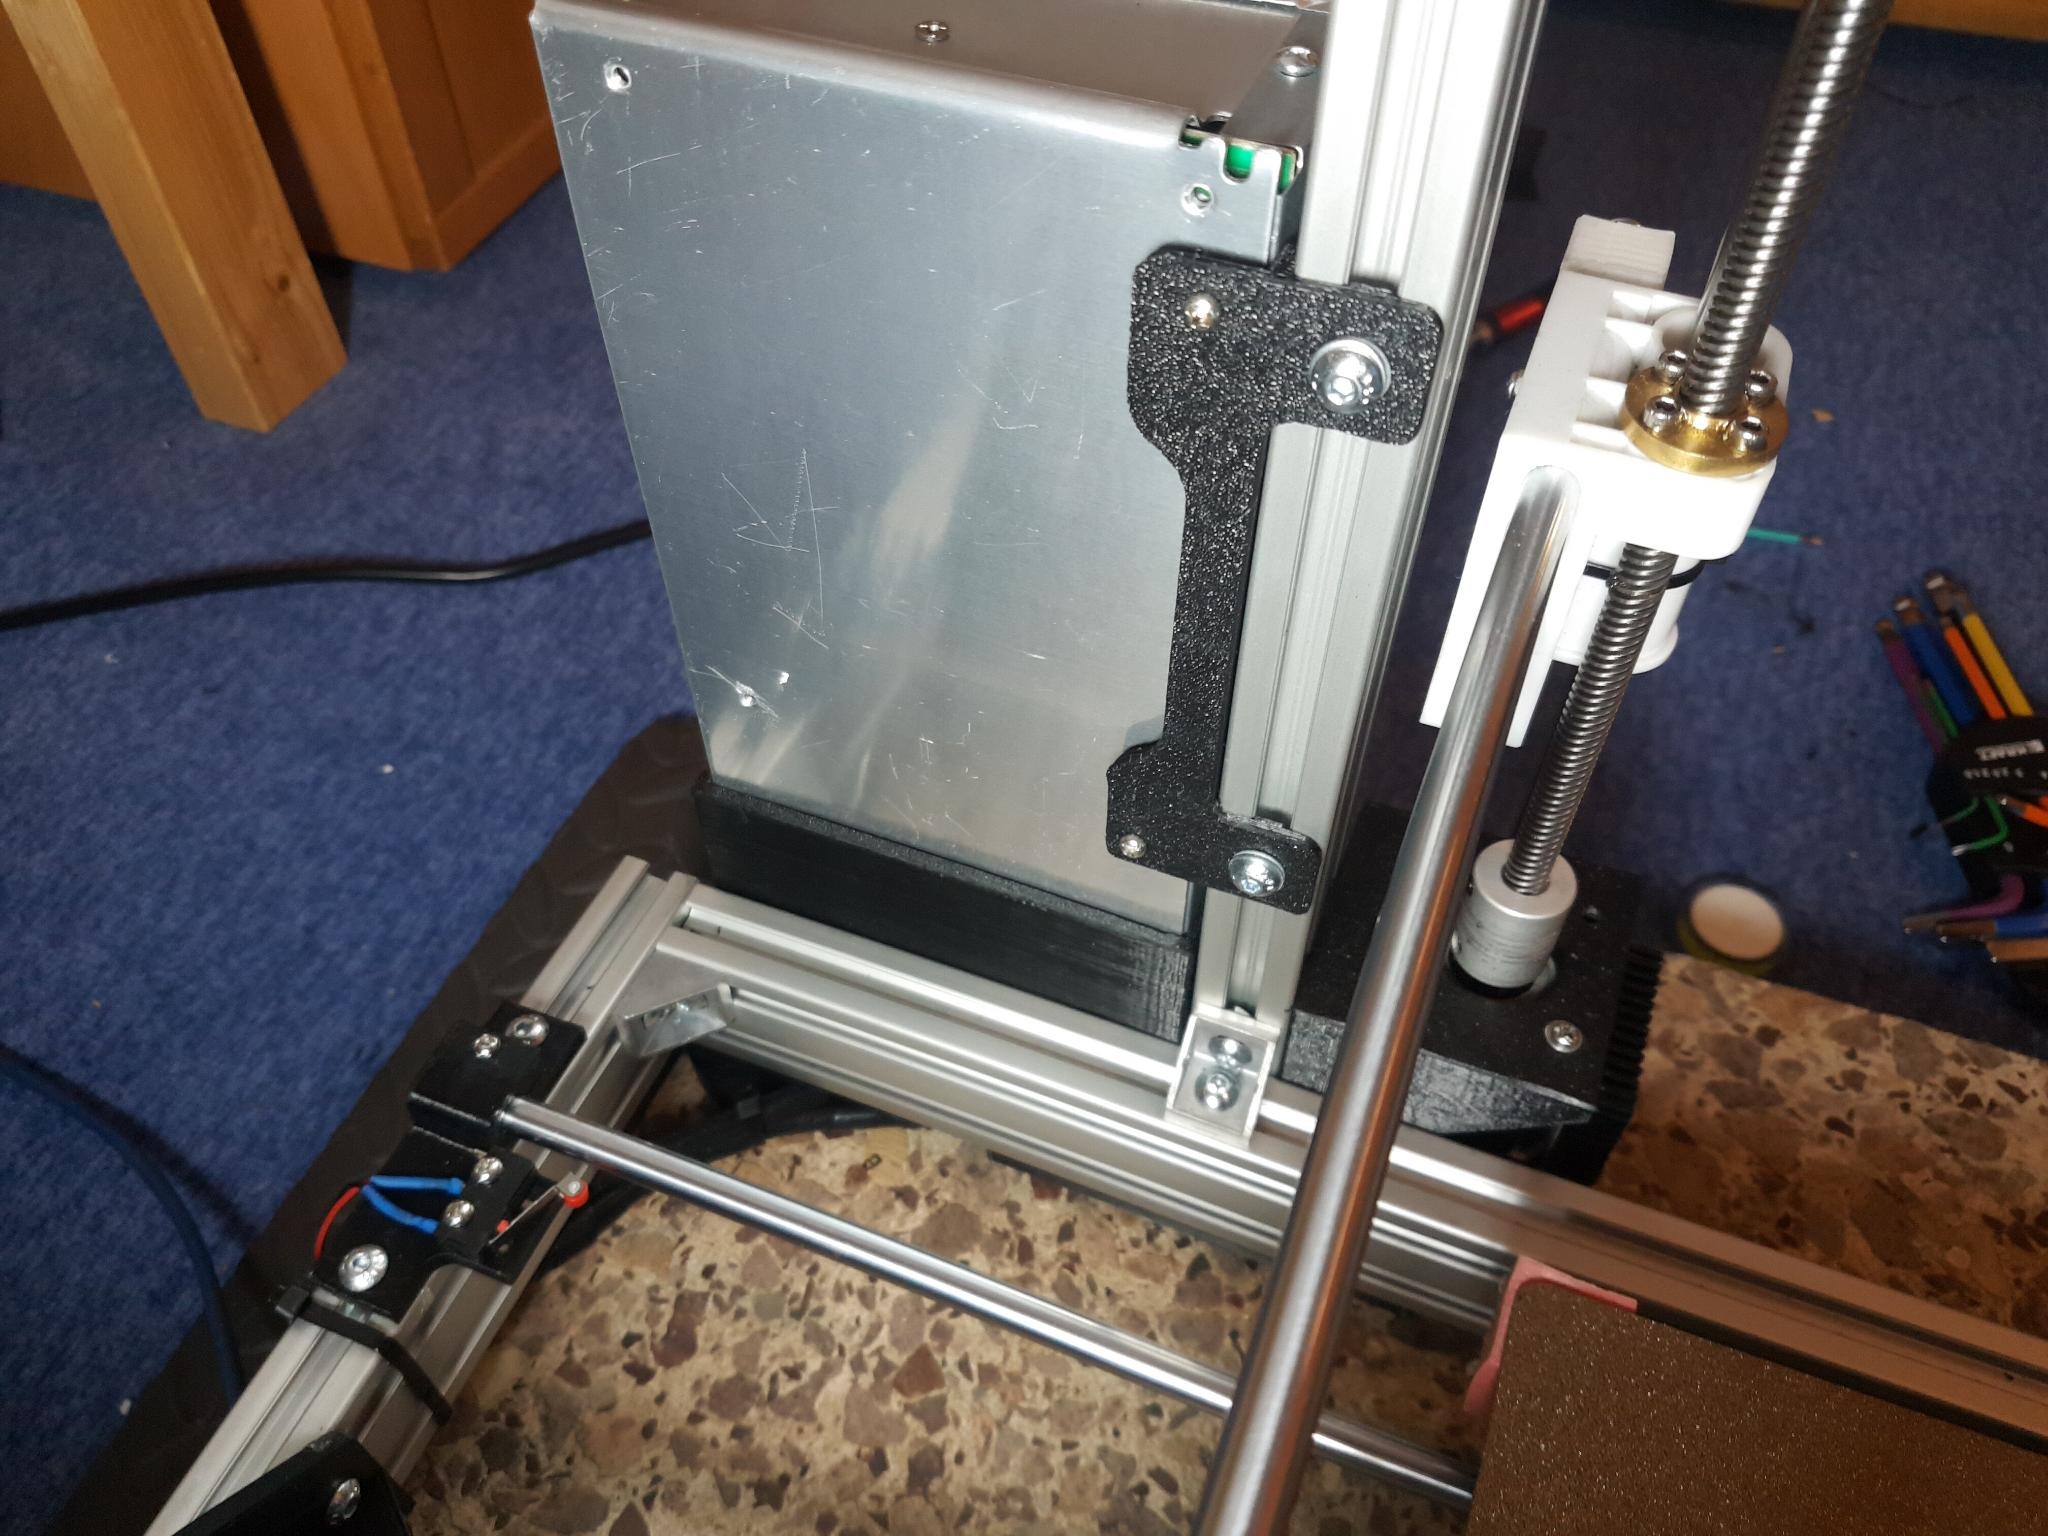
The largest modification was to completely replace the acrylic plastic frame with a more ridgid aluminium one. The AM8 upgrade project provides blueprints and 3D models to print, which can be assembled into a replacement frame. I purchased the required aluminium extrusions and assembled it using the build instructions. The build went pretty smoothly, however it required quite a bit of time and effort.
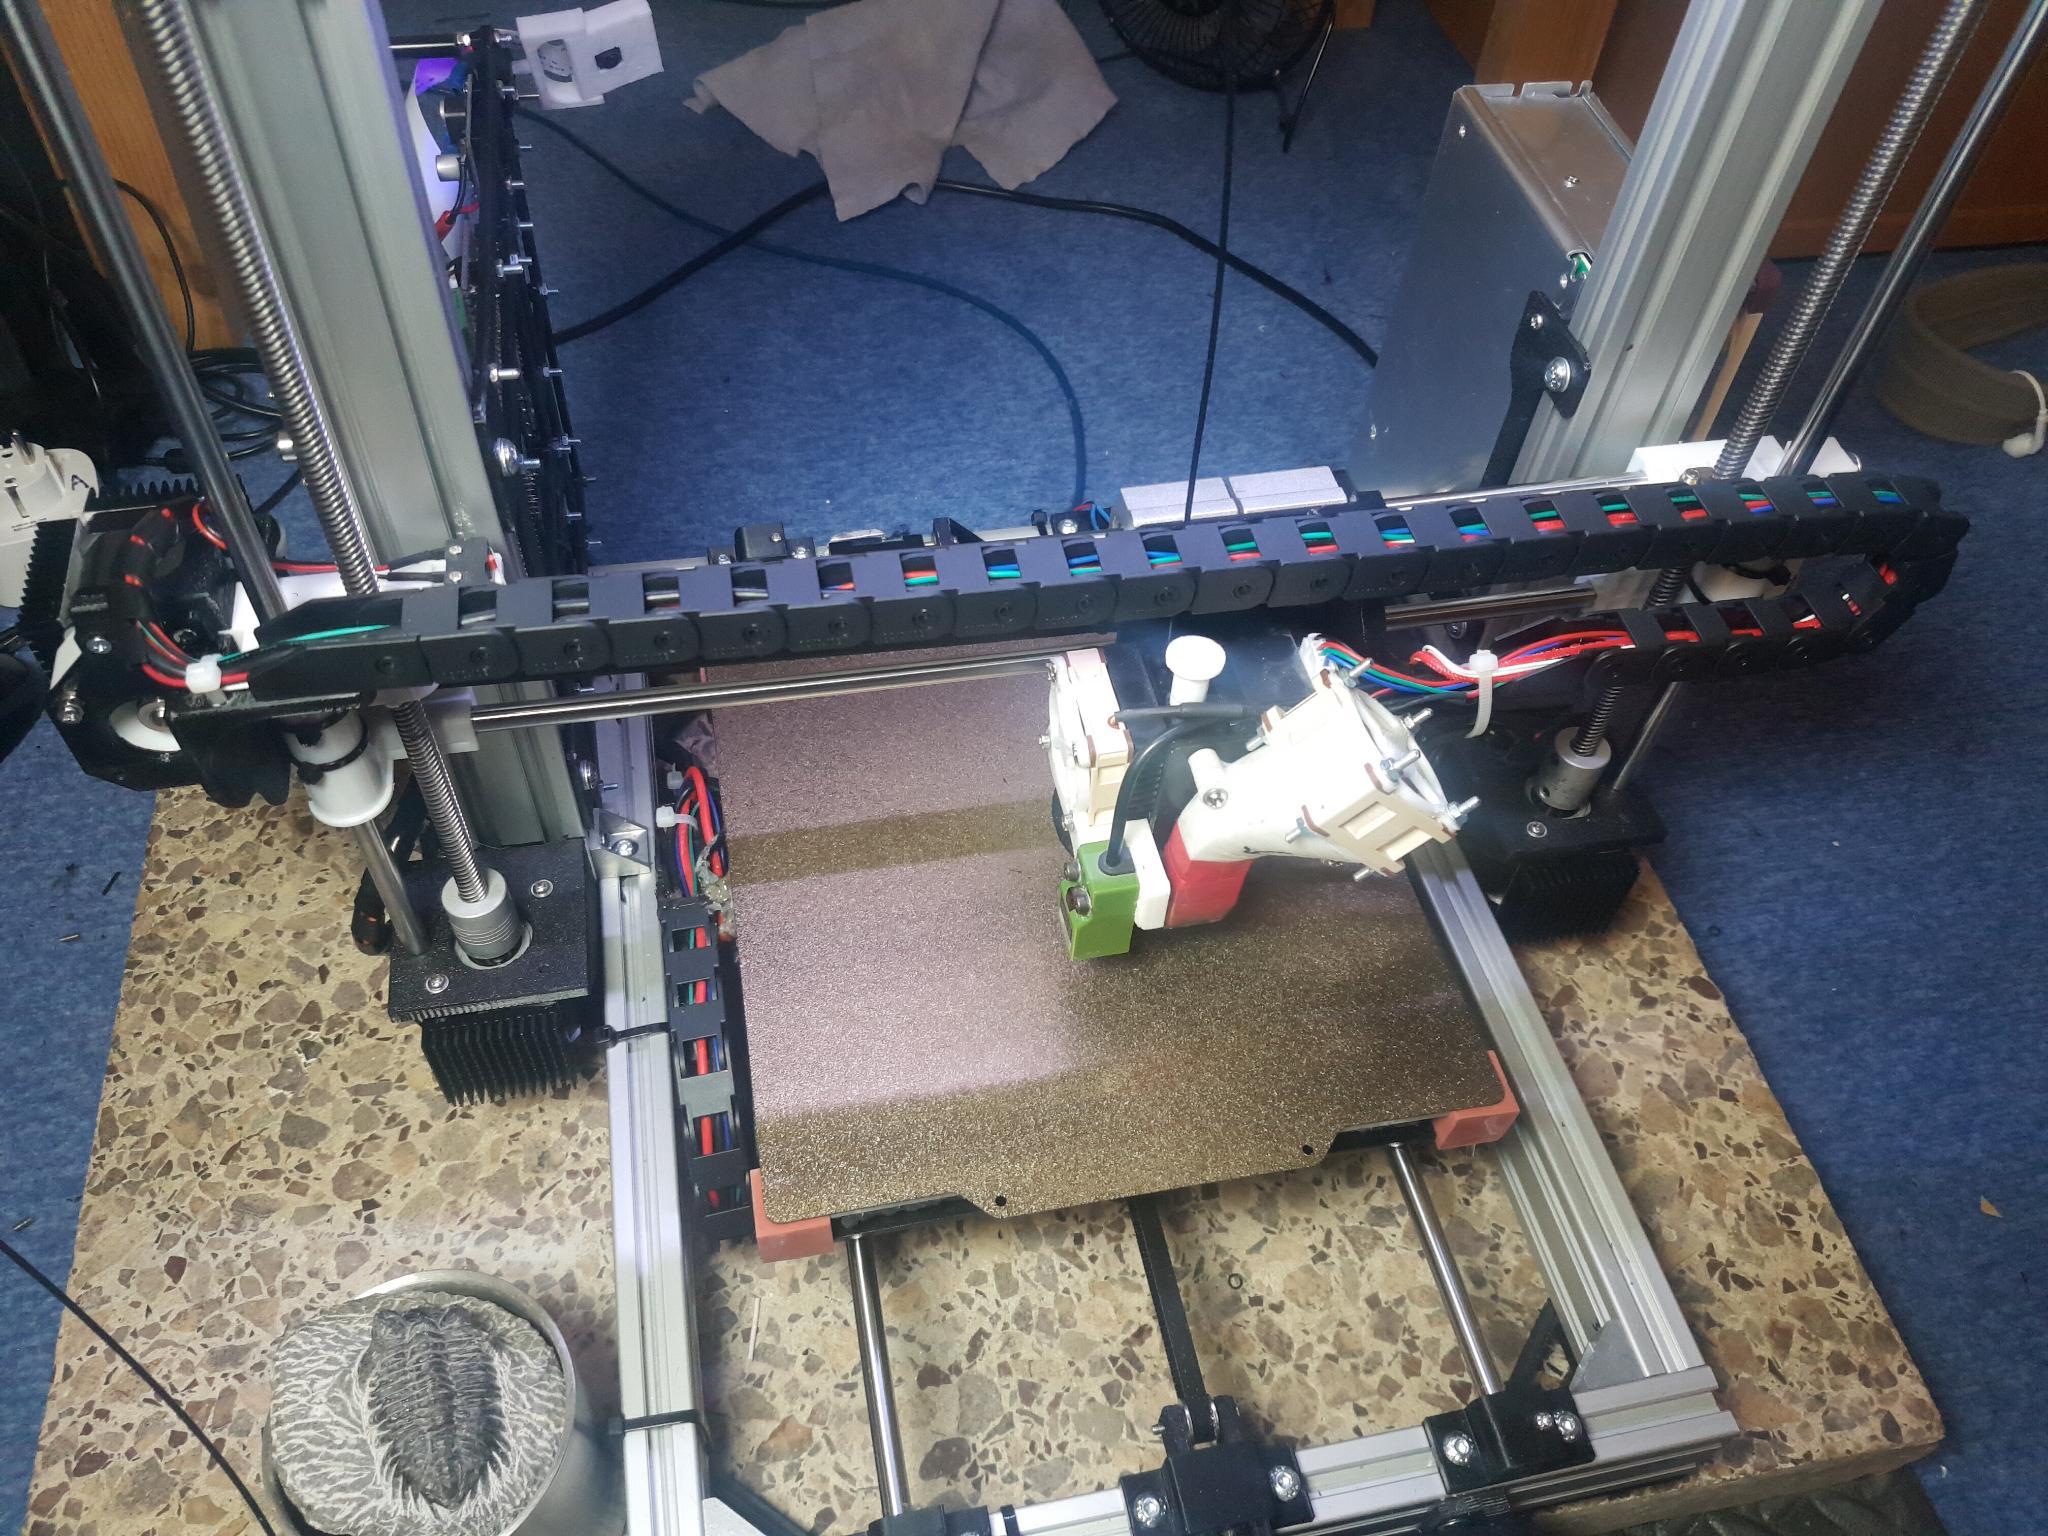
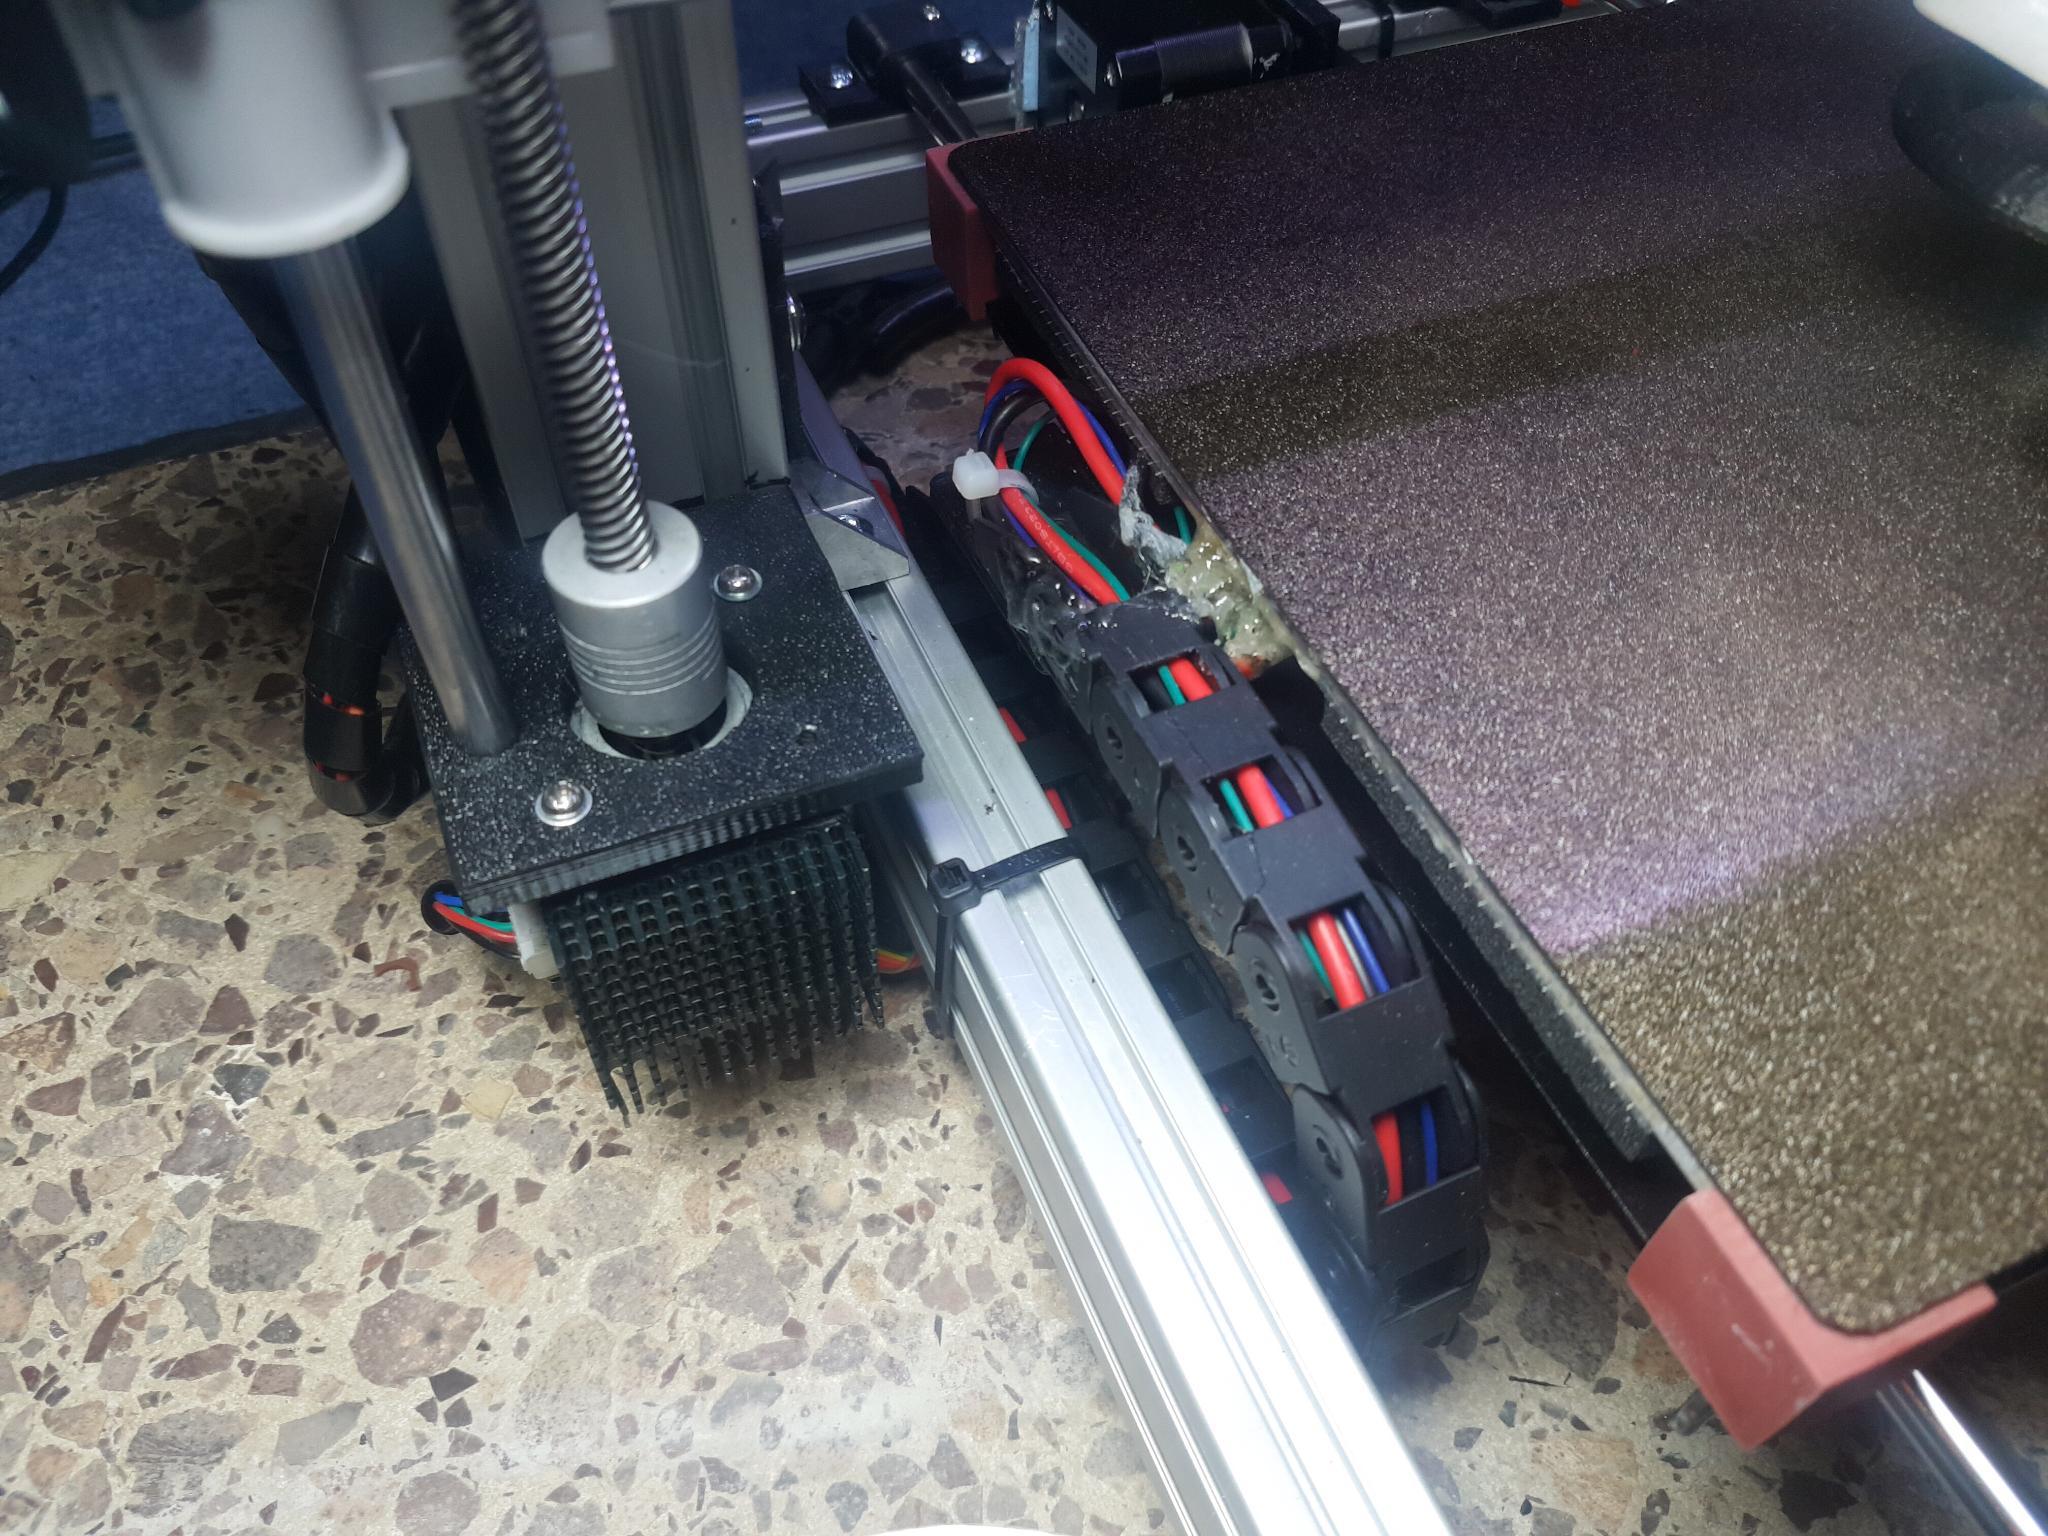
The next upgrade concerns the heated print bed. I added insulation, and replaced the carriage with a more sturdy one. I also replaced the corner springs with solid silicone corner pieces. Finally, I added a magnetic PEI coated steel sheet as a print surface.
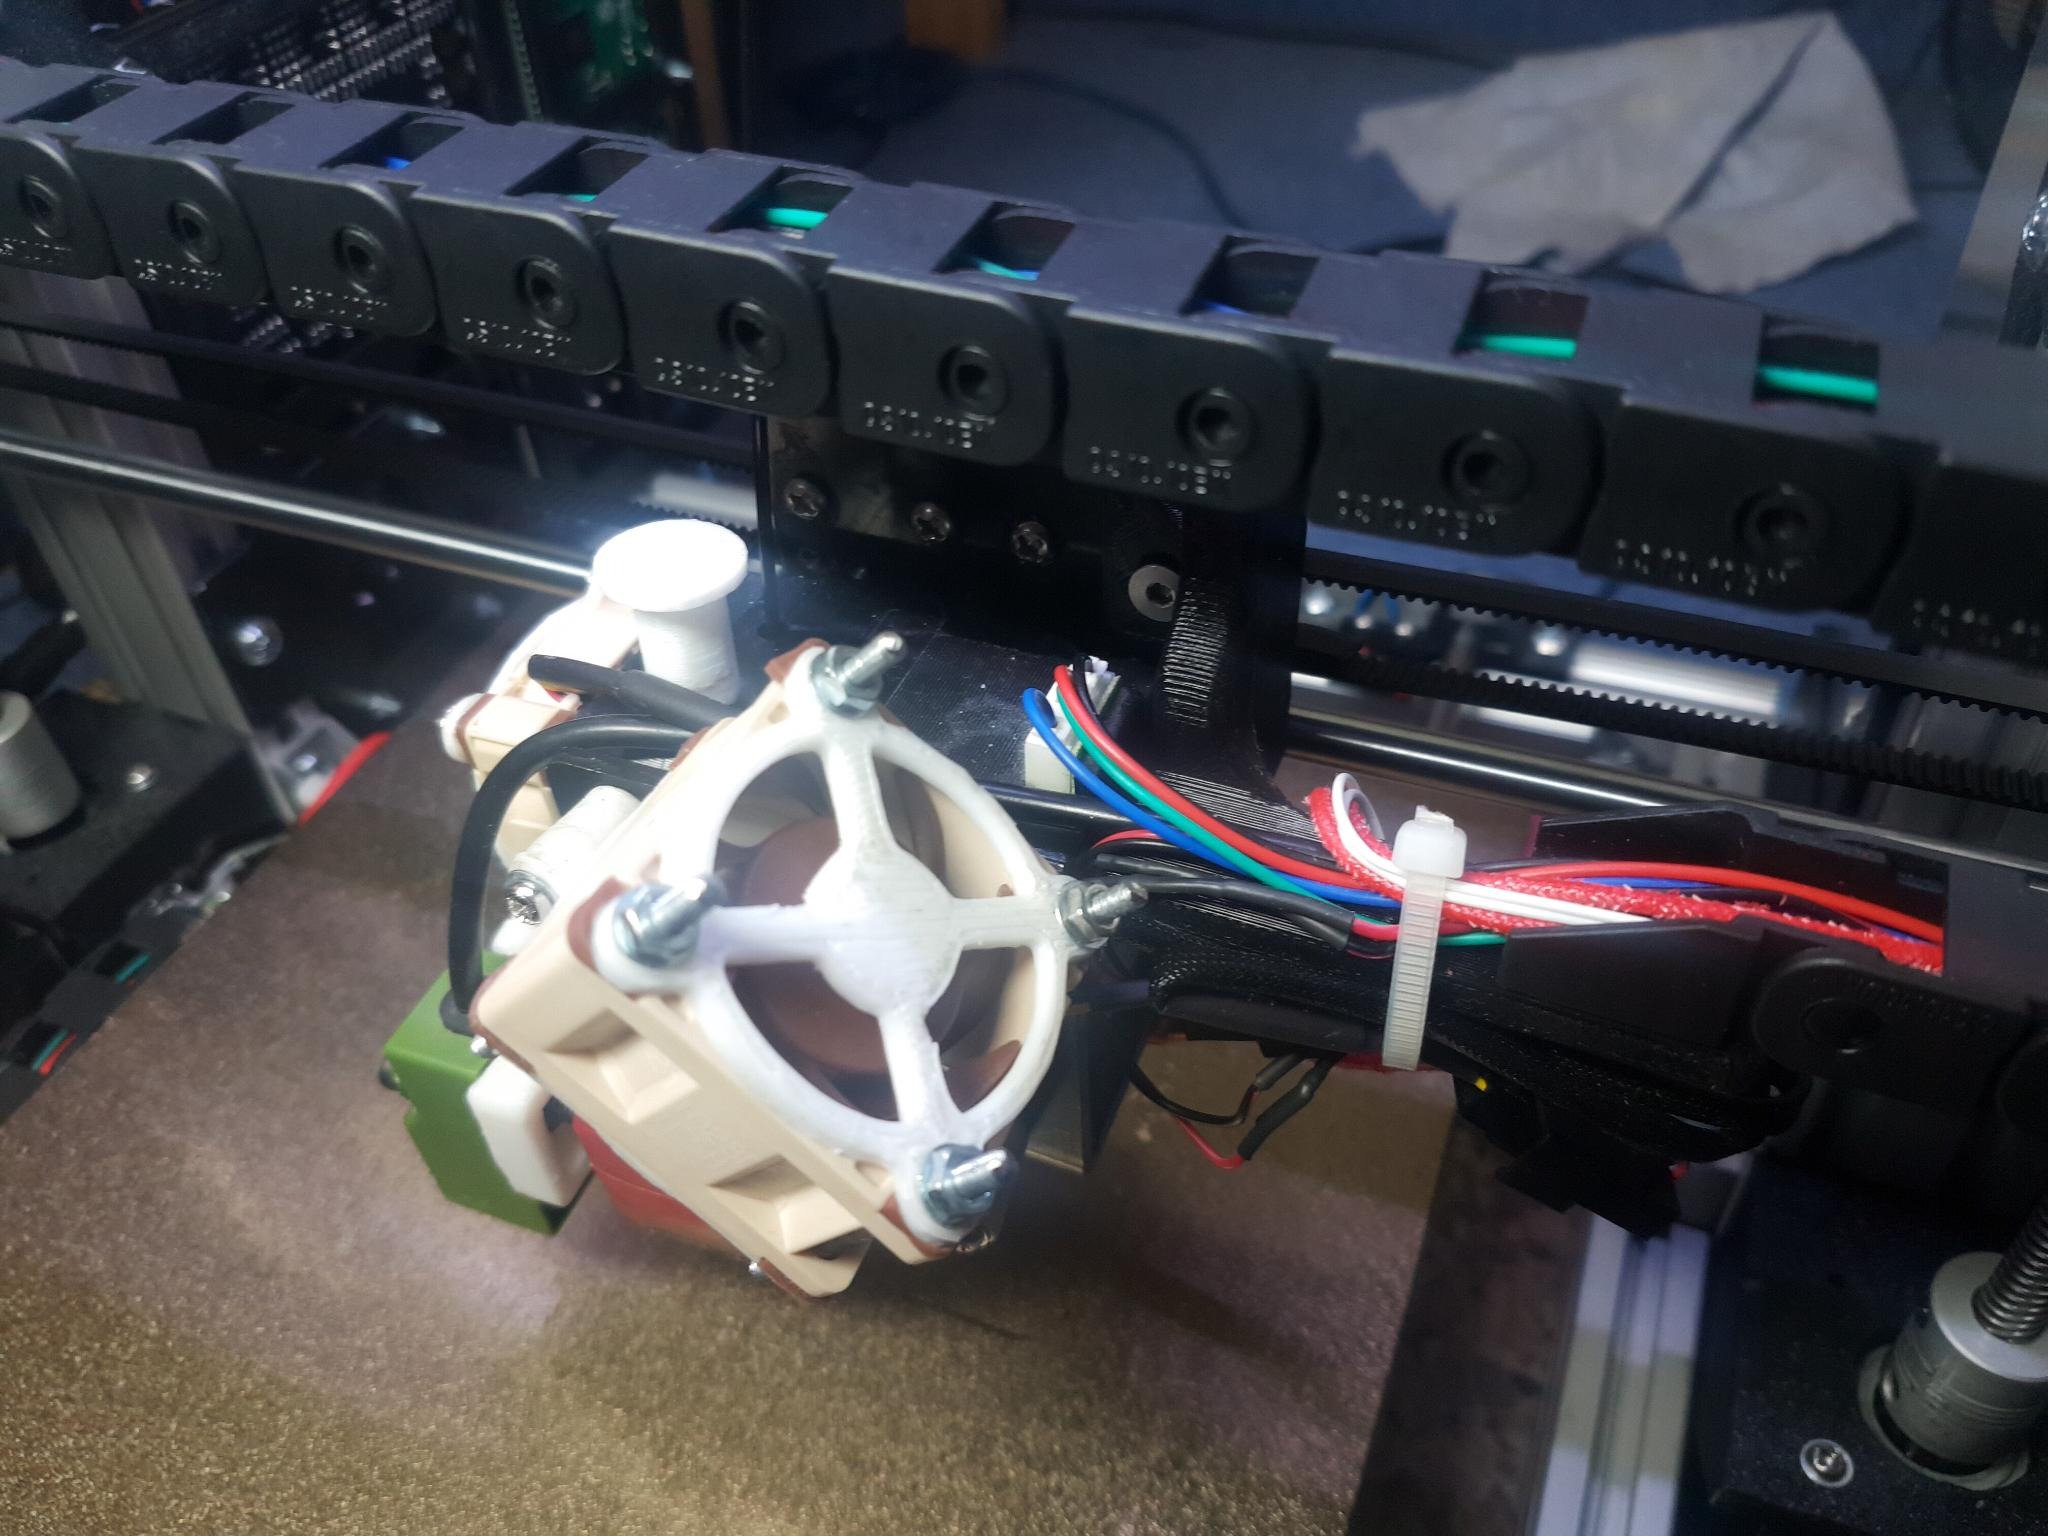
Another larger upgrade was to add cable drag chains to both the X and Y axes. These drag chains provide strain relief to the cables, and prevent the cables from kinking or snagging on corners. In additions, they look nice.
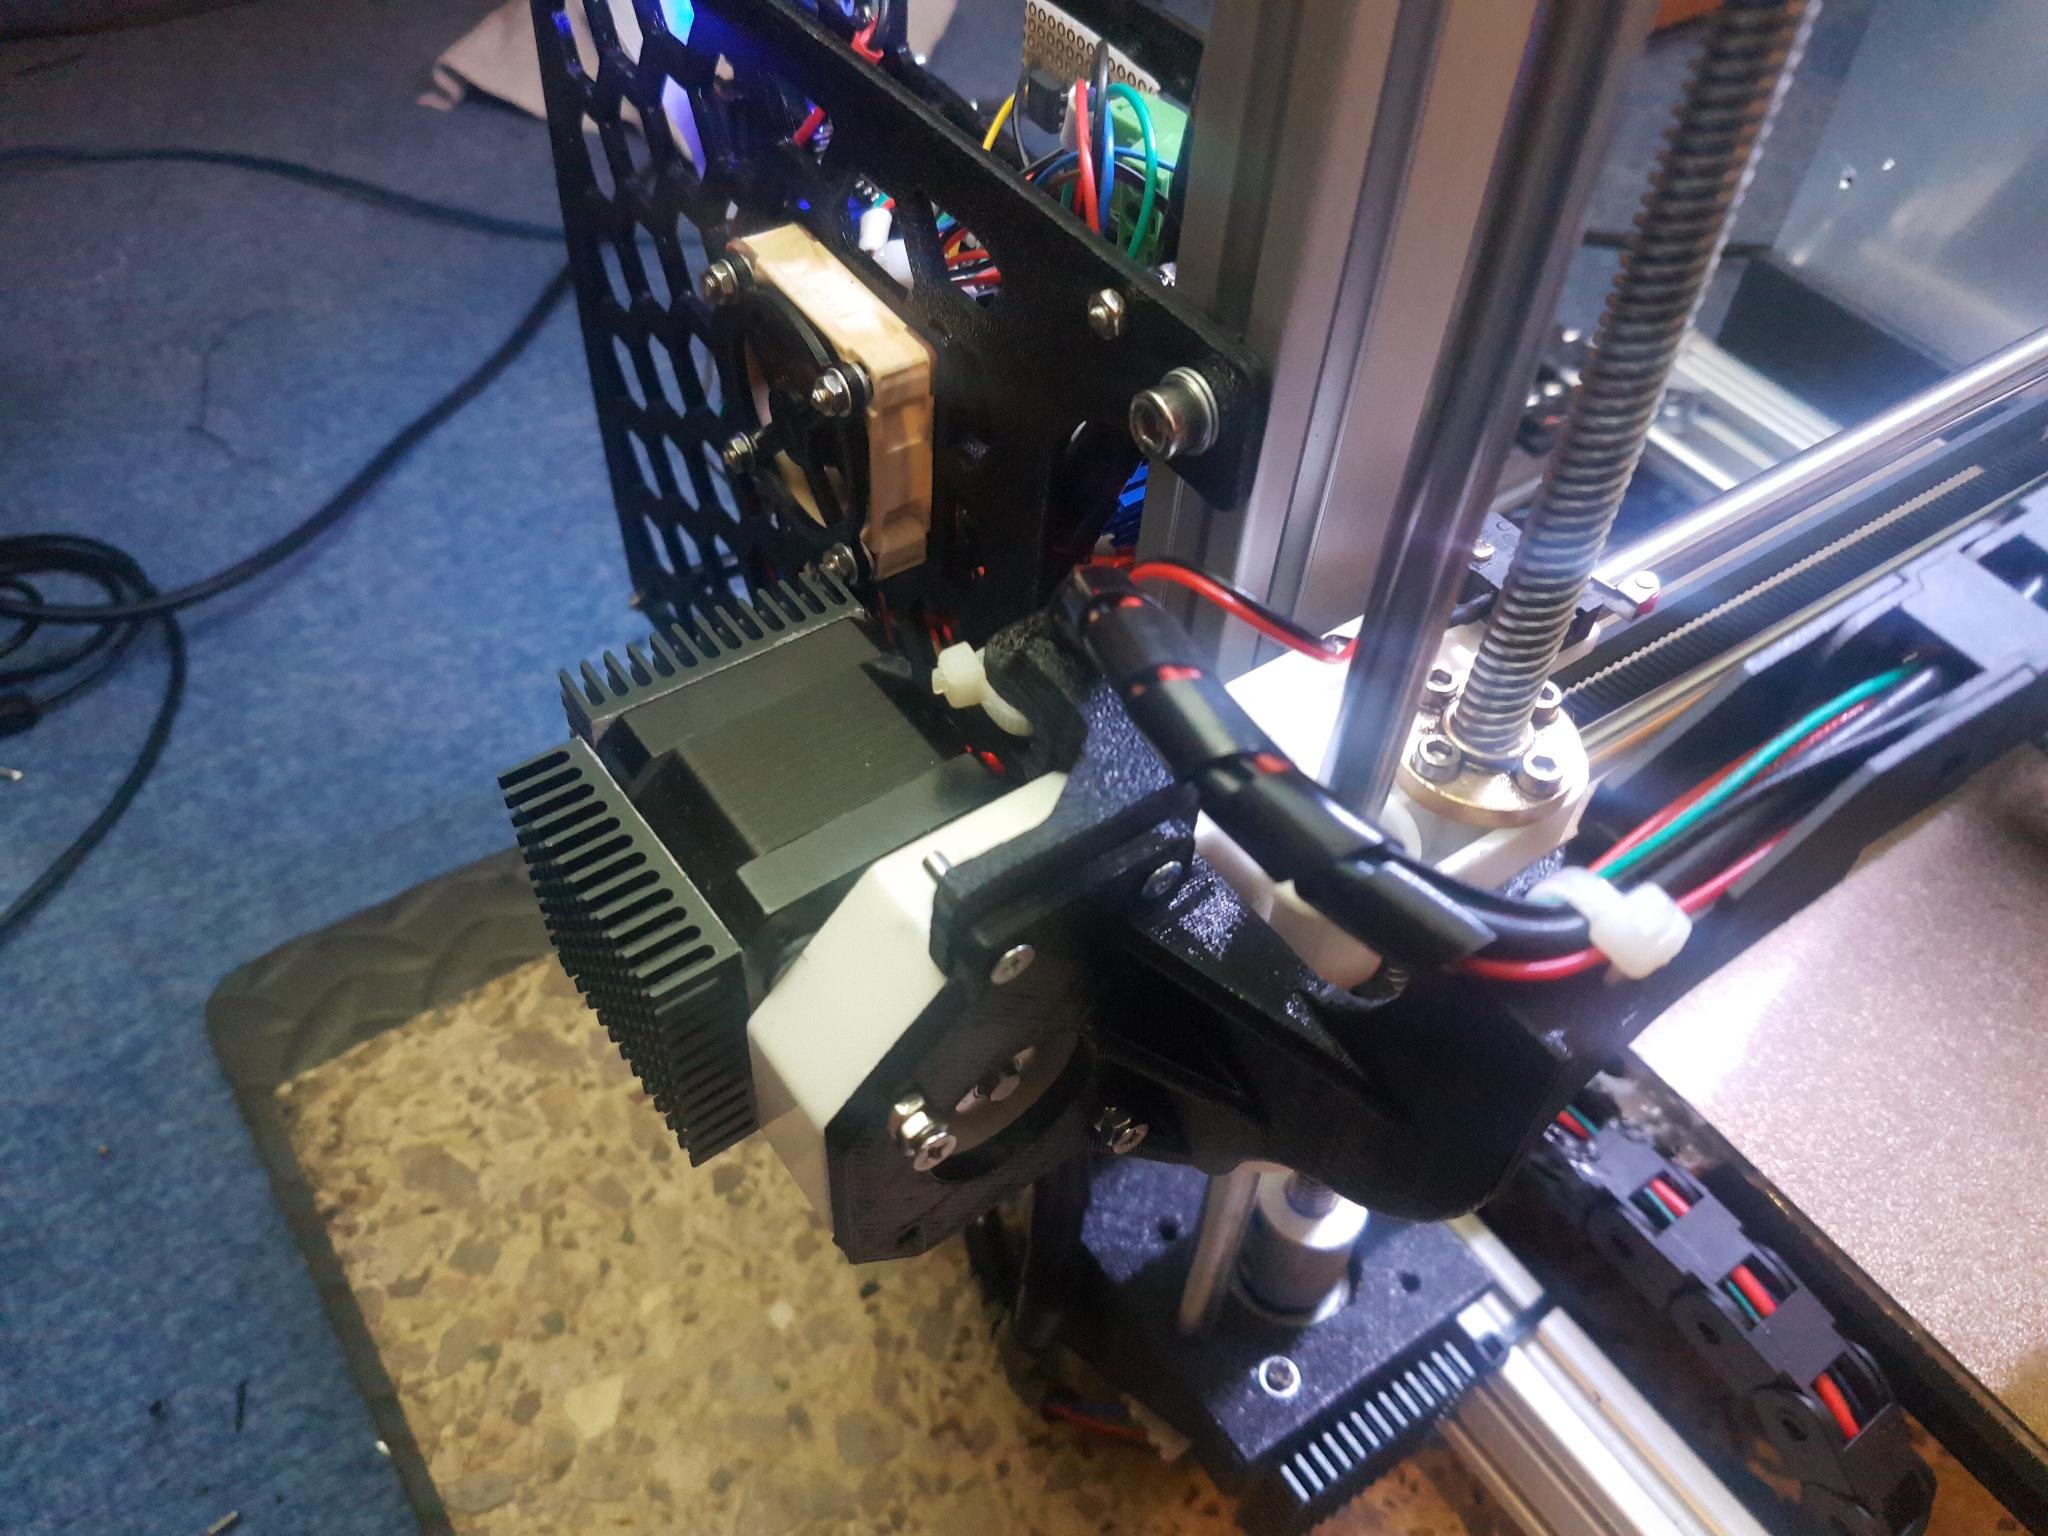

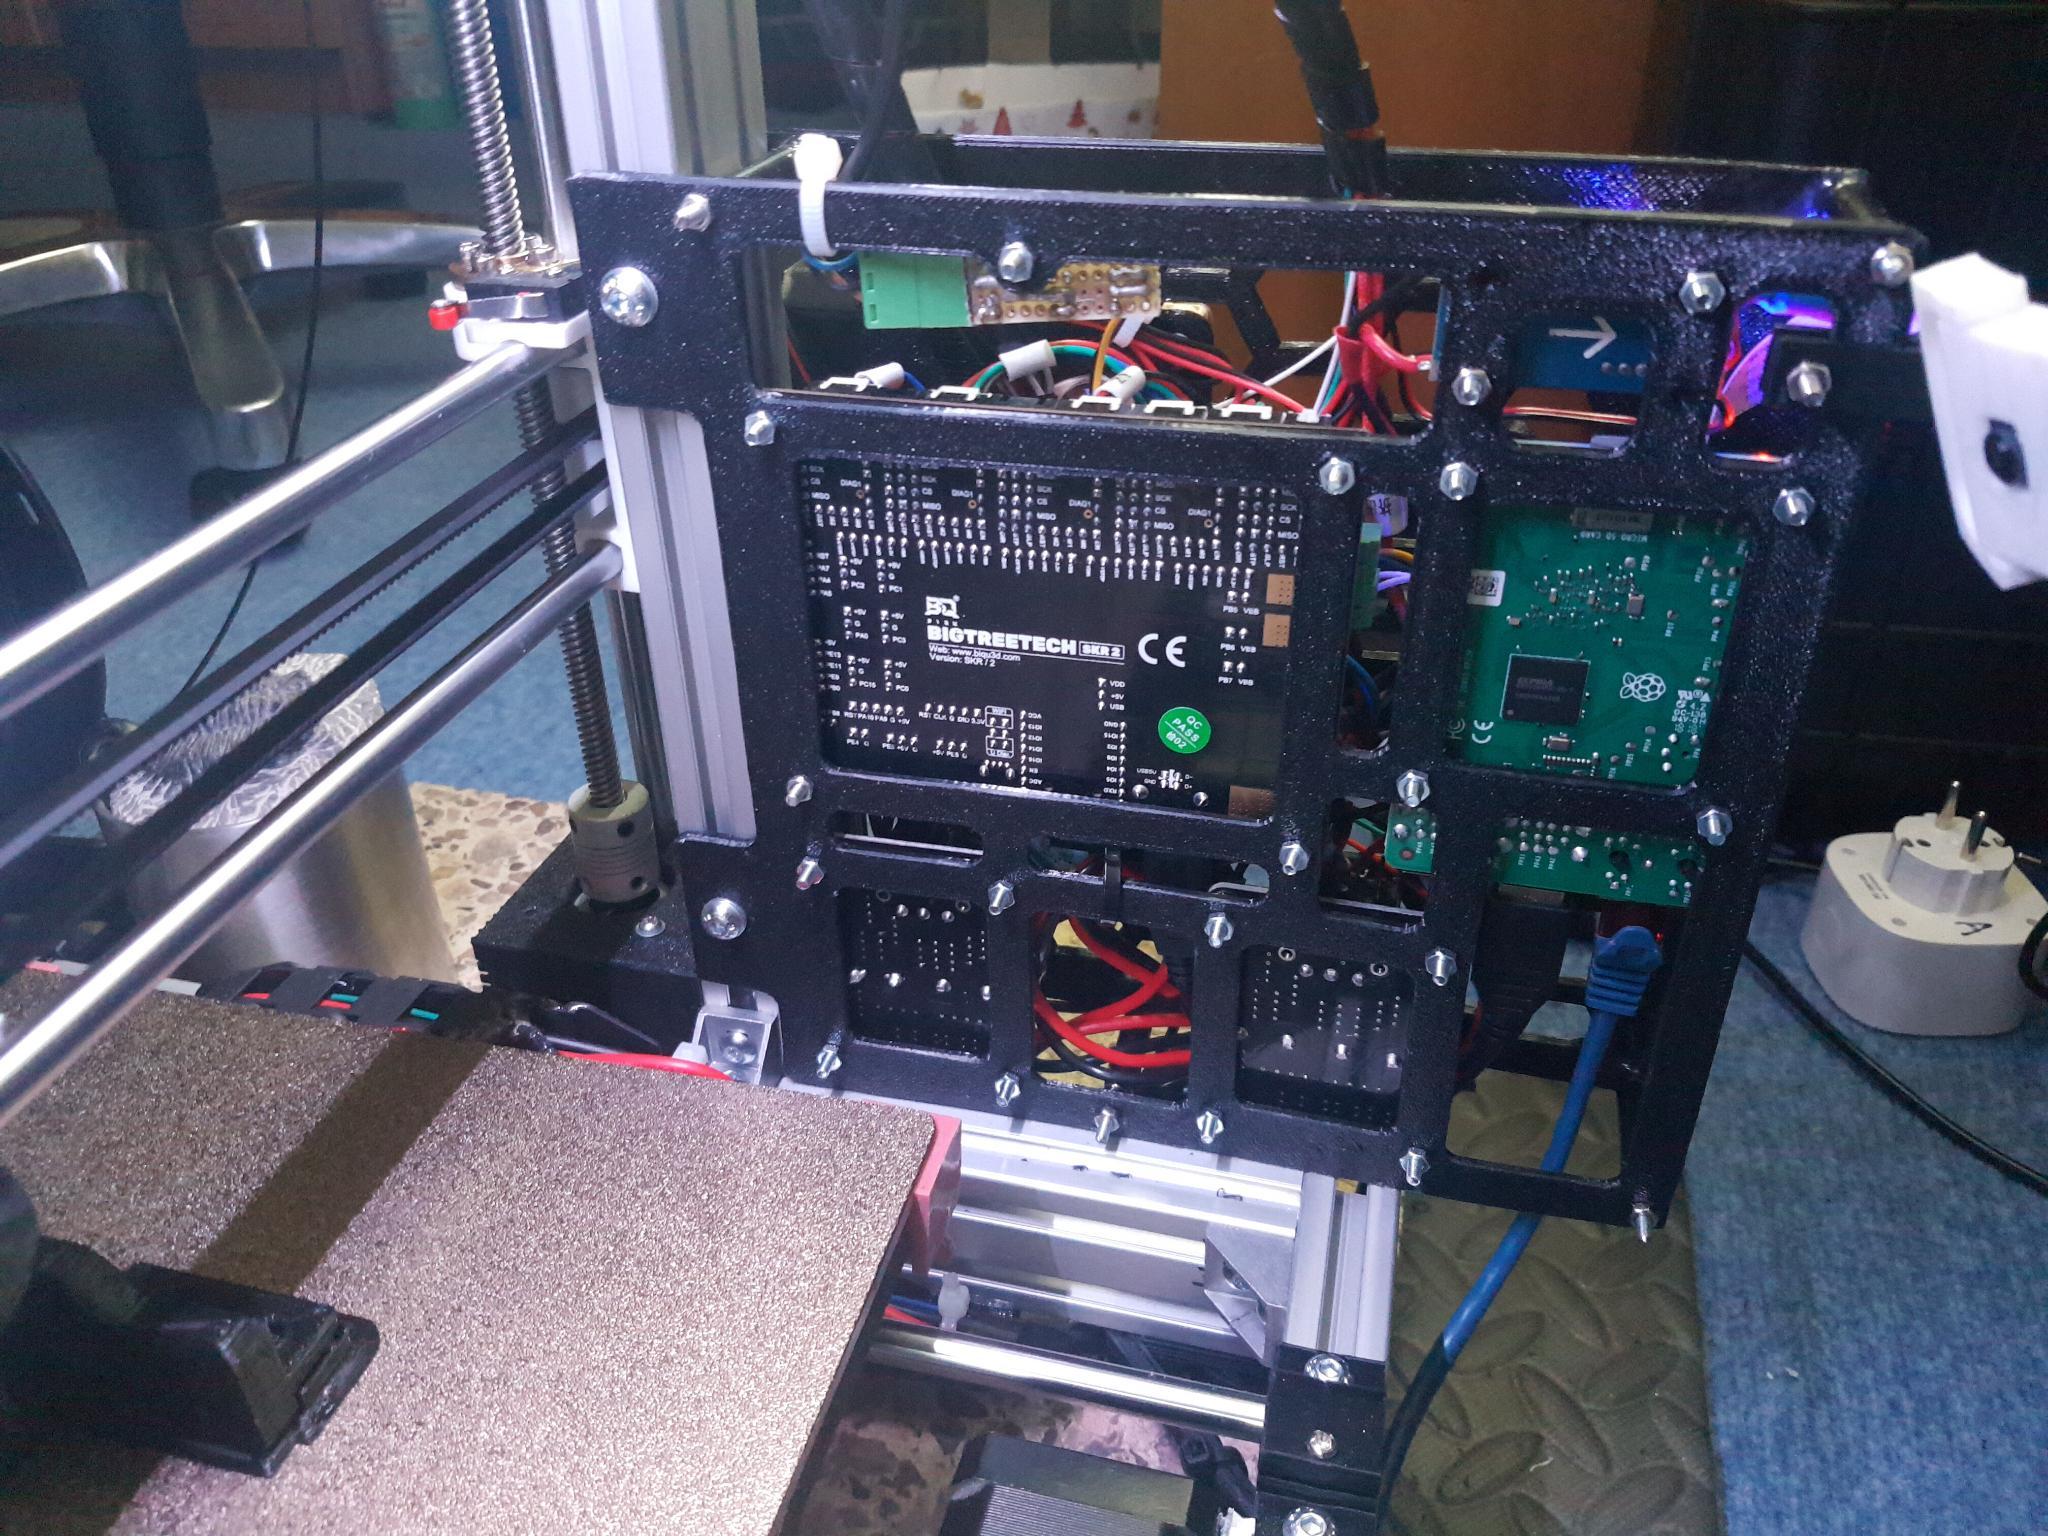
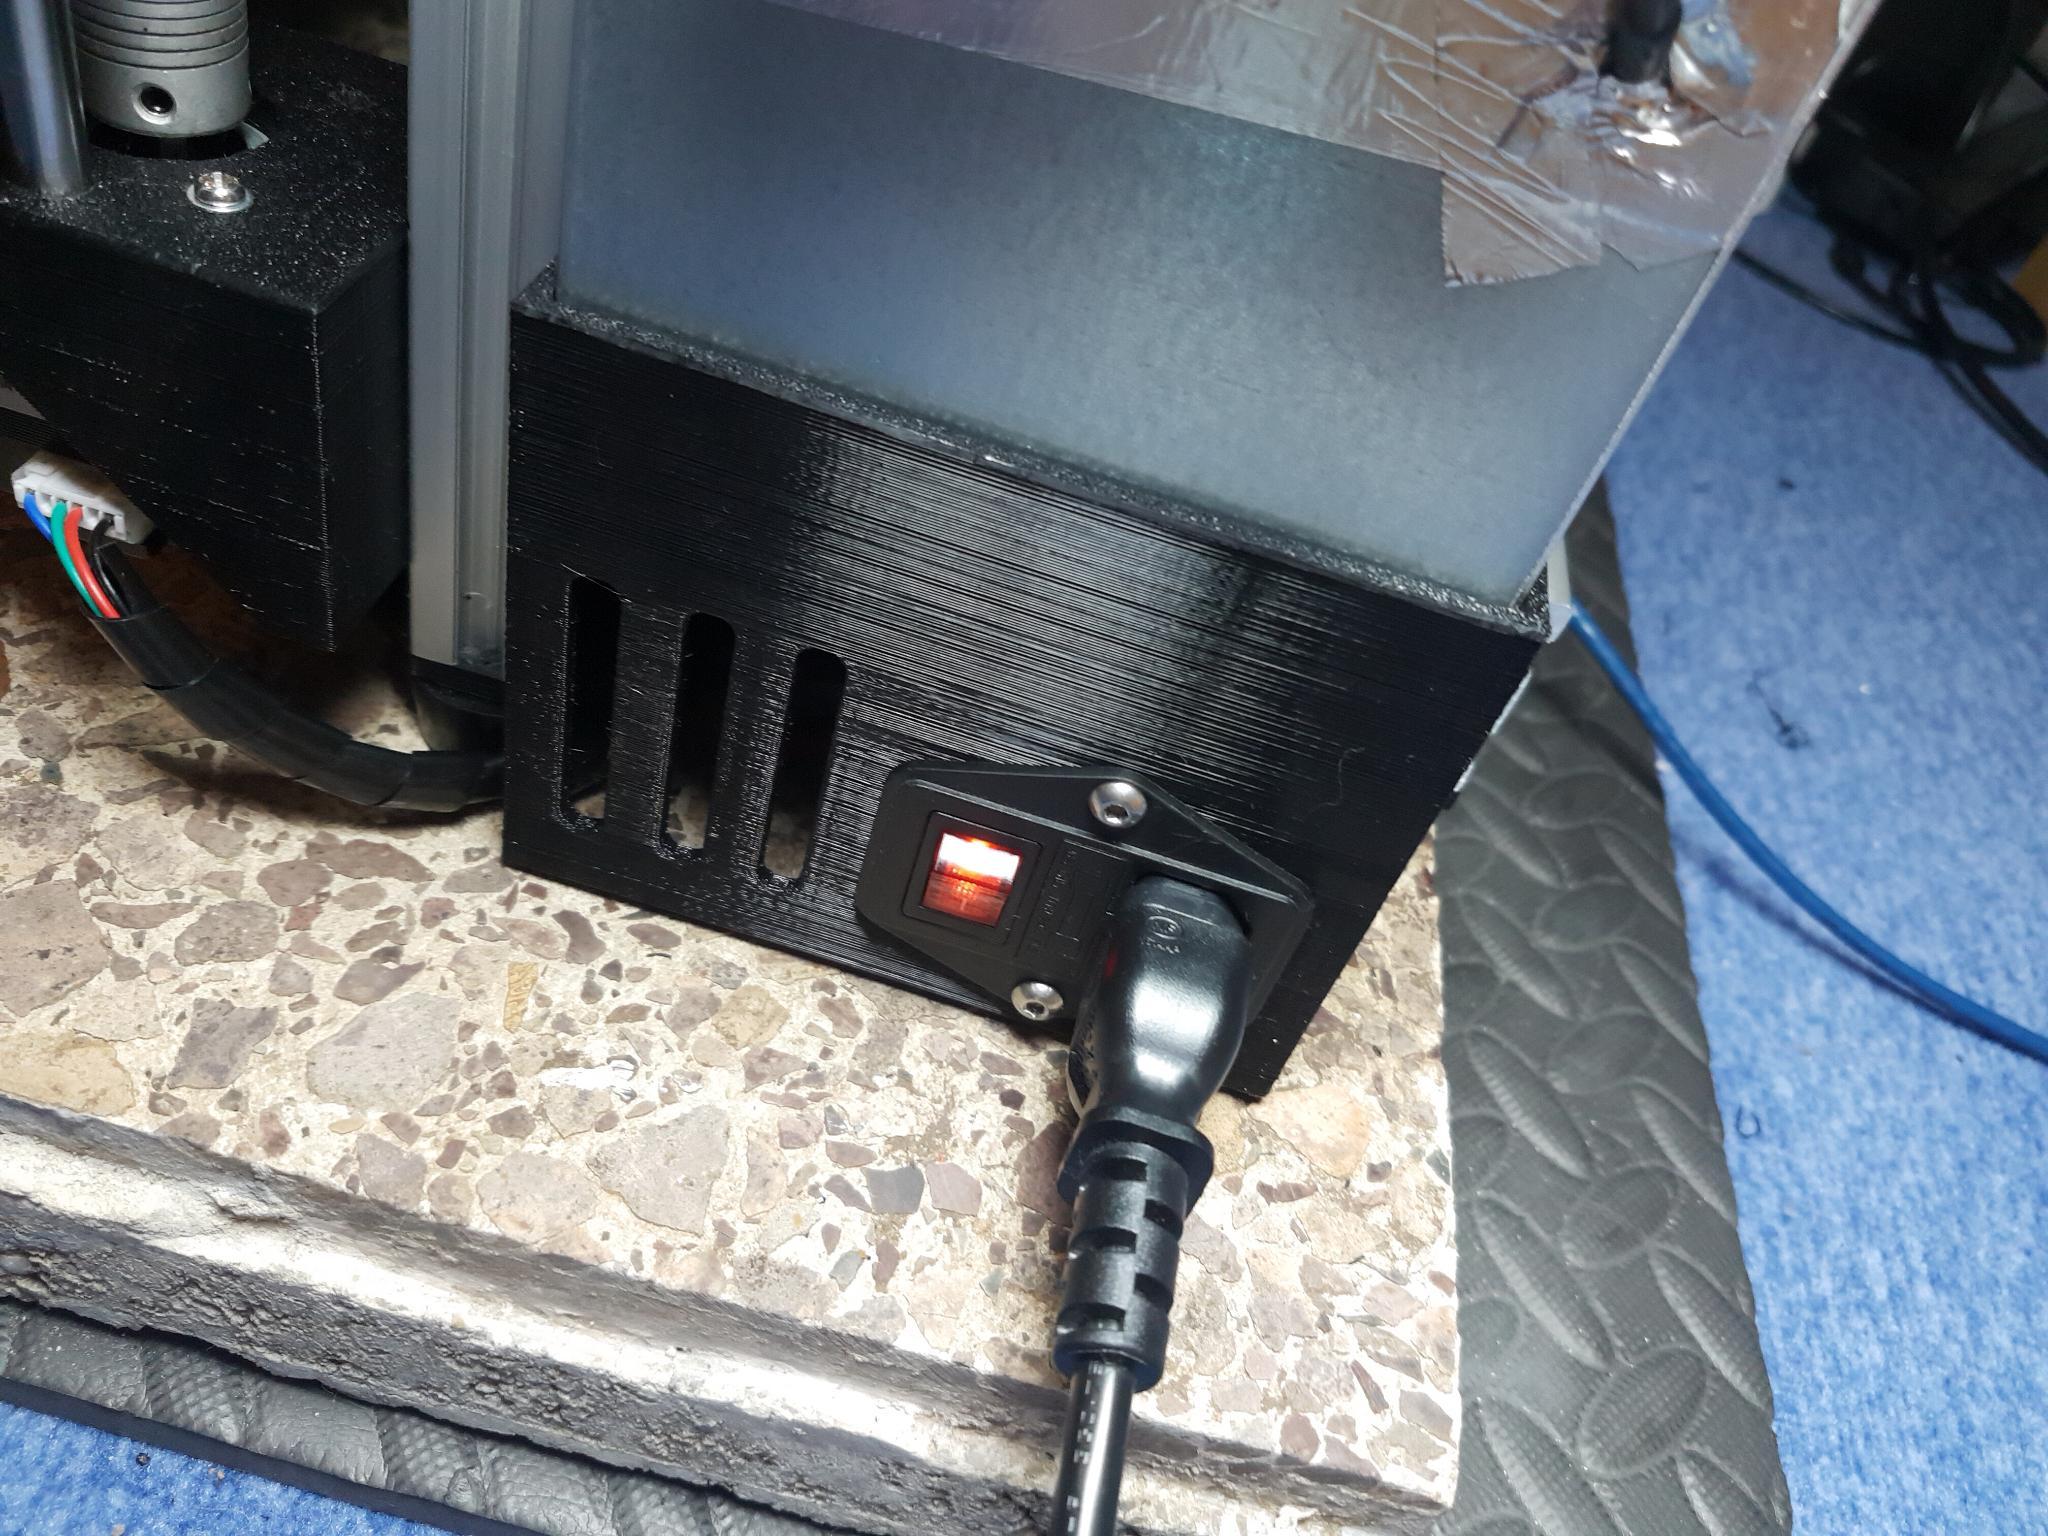
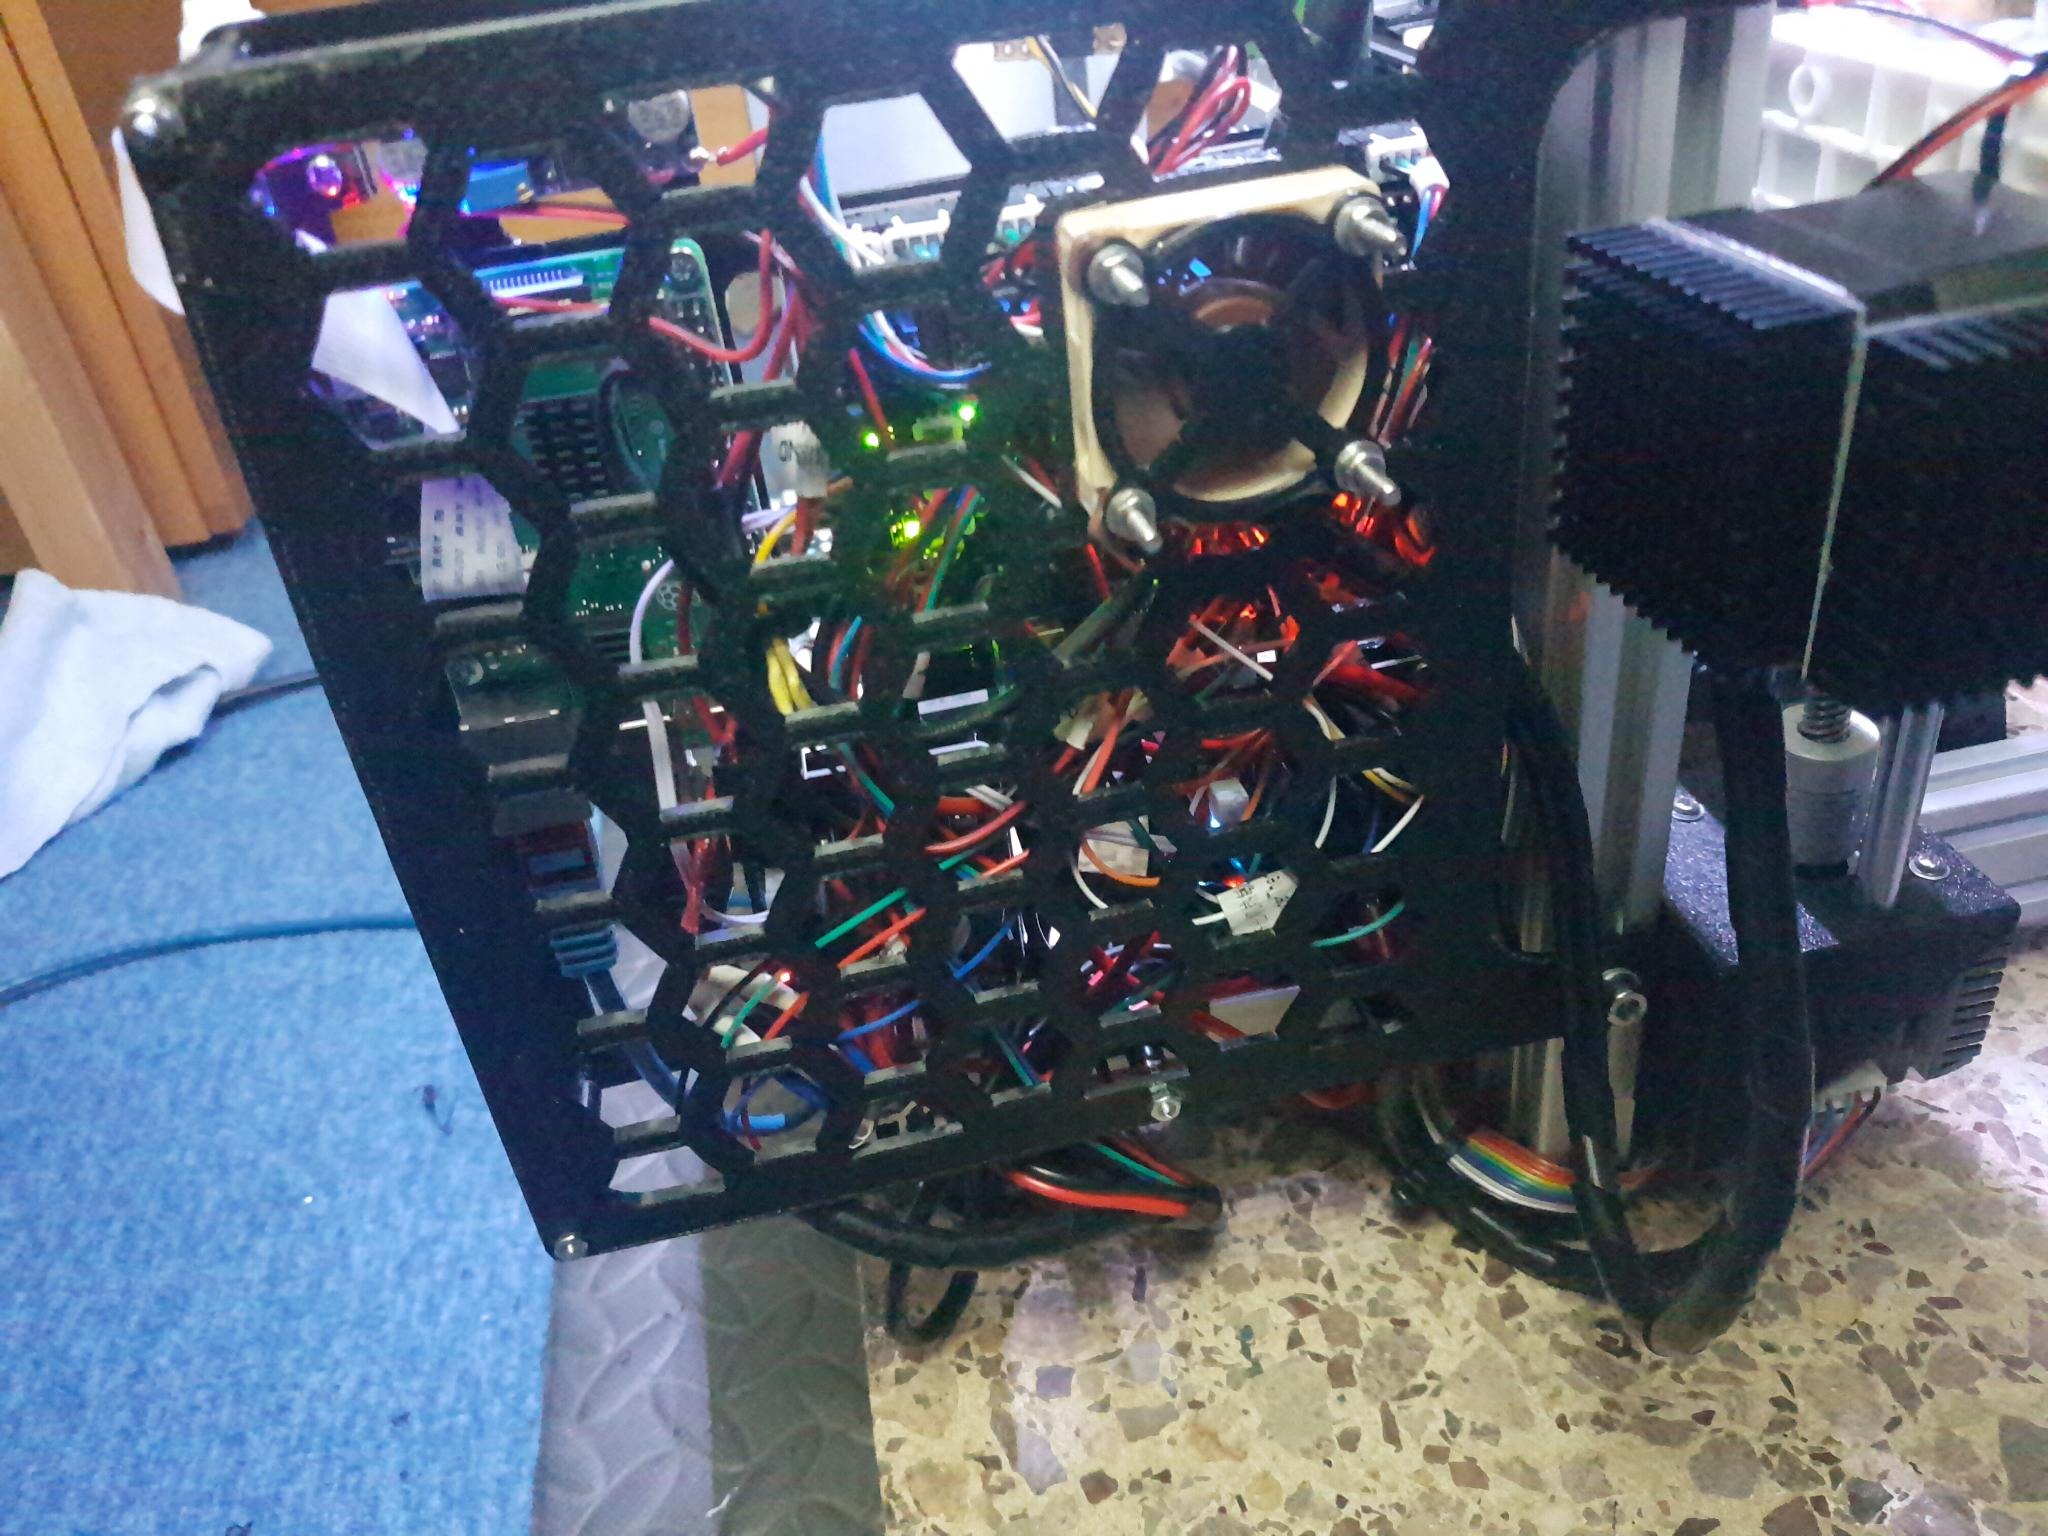
Finally, I installed a more powerful mainboard and power supply. I chose the 32 bit BTT SKR 2 board, which runs the Marlin firmware (just as before). A few other small additions ware made as well, for example a filament sensor and extra silent stepper drivers.

I am really happy with the newfound performance and precision of this printer, and we’ll see how it evolves into the future.
Parts List
For documentation purposes, here is a list of parts and components I used.
This happened over several years, so some links could be dead, but they should be enough to give you a rough idea. Also, most shops are German / EU, so you might want to search for regional alternatives depending on your location.
In the four Thingiverse links below which are marked as designed by me, you can find additional photos. In general, this conversion is not for the faint of heart, I had to do quite a bit of engineering. But is was fun.
Main Parts
- Anet A8 for parts
- AM8 extrusion (364 variant) & replacement long Y rods kit: https://www.landwehr3d.de/shop/umbausaetze/umbauset-am8
- AM8 plastic parts: https://www.thingiverse.com/thing:2263216
- I built the longer 364 Y variant: https://www.thingiverse.com/thing:2462104
- Plastic parts: https://www.ebay.de/itm/193422871163
Other parts
- SKR2 Mainboard with TMC2209 drivers: https://www.amazon.de/gp/product/B09J15SJ9D
- SD cards for SKR2 and RasPi: https://www.amazon.de/gp/product/B06XWMQ81P
- IEC power socket with switch: https://www.amazon.de/gp/product/B01FQVM9EM
- Power cable: https://www.amazon.de/gp/product/B00AOAIRSS
- Dual MOSFETs: https://www.amazon.de/gp/product/B077HP7XX9
- Inductive bed leveling sensor: https://www.amazon.de/gp/product/B01GNVU05Y
- Raspberry Pi 3B: https://www.raspberrypi.com/products/
- Raspberry Pi Cam: https://www.raspberrypi.com/products/camera-module-v2/
- Voltage Converter for RPi: https://www.amazon.de/gp/product/B01GJ0SC2C
- USB data cable: https://www.amazon.de/gp/product/B00369CFQE
- USB power cable for RPi: https://www.amazon.de/gp/product/B073XF3F6R
- Better 30A power supply: https://www.amazon.de/gp/product/B084QXJP44
- Power supply replacement fan: https://www.amazon.de/gp/product/B00NEMGCRQ
- LCD connectors: https://www.amazon.de/gp/product/B00O9Y6FL6
- LCD cable: https://www.amazon.de/gp/product/B077N6CN3F
- Neopixel LED strip: https://www.amazon.de/-/en/dp/B088K56MJT
- Part fan 40×20: https://www.amazon.de/gp/product/B071J8CZP9
- Extruder and mainboard fan 40×10: https://www.amazon.de/gp/product/B009NQLT0M
- Fiberglass reinforced belts: https://www.amazon.de/gp/product/B07NSTGDYL
- Motor heatsinks and vibration dampeners: https://www.amazon.de/gp/product/B07XP6VZLL
- Igus dry bearings: https://www.amazon.de/gp/product/B079M85MZ6
- Spare heatbreaks and nozzles: https://www.amazon.de/gp/product/B01F3FO6LU
- PEI magnetic print plate: https://www.amazon.de/gp/product/B09J4TKYBN
- Stronger bed carriage: https://www.amazon.de/gp/product/B07XCC5NT6
- Heatbed insulation: https://www.ebay.de/itm/202863729087
- Bed carriage silicone spacers: https://www.landwehr3d.de/shop/silikondaempfer/silikon-a8
- Timing belt pulleys: https://www.amazon.de/gp/product/B07J5FGKV2
- Cable drag chains: https://www.amazon.de/gp/product/B0859BQSQW
- Filamant sensor: https://www.amazon.de/gp/product/B07FSXFPLD
- Custom Optocoupling PCB for bed level sensor: No source, I used a LTV4N35
Printed parts
- X belt tensioner: https://www.thingiverse.com/thing:1683070
- Power supply cover: https://www.thingiverse.com/thing:5229997 (my design)
- Cable drag chain mounts: https://www.thingiverse.com/thing:5230694 (my design)
- Filament sensor mount and guide: https://www.thingiverse.com/thing:5230548 (my design)
- Mainboard, RPi & MOSFET case: https://www.thingiverse.com/thing:5230153 (my design)
- Bed leveling sensor mount: https://www.thingiverse.com/thing:1874774
- Raspberry Pi cam holder: https://www.thingiverse.com/thing:2199829
- Nozzle fan duct adapter: https://www.thingiverse.com/thing:3245042
- Nozzle fan duct: https://www.thingiverse.com/thing:1620630
- Extruder pushbutton: https://www.thingiverse.com/thing:1935151
Parts I had around the shop
- Lots and lots of nuts and bolts of various sizes
- Lots of spare wires and cables
- Lots of various zipties
- Various JST-XH plugs
- Heatshrink tubing
- Two-component epoxy glue
- Solder equipment
- A piece of aluminium plate and thermal pads to shim the Y motor
Assembly infos
- https://marlinfw.org/
- https://octoprint.org/
- https://raw.githubusercontent.com/bigtreetech/SKR-2/master/Hardware/BIGTREETECH%20SKR%202%20user%20manual.pdf
- https://cdn.thingiverse.com/assets/18/96/c9/fc/38/Build_Guide.pdf
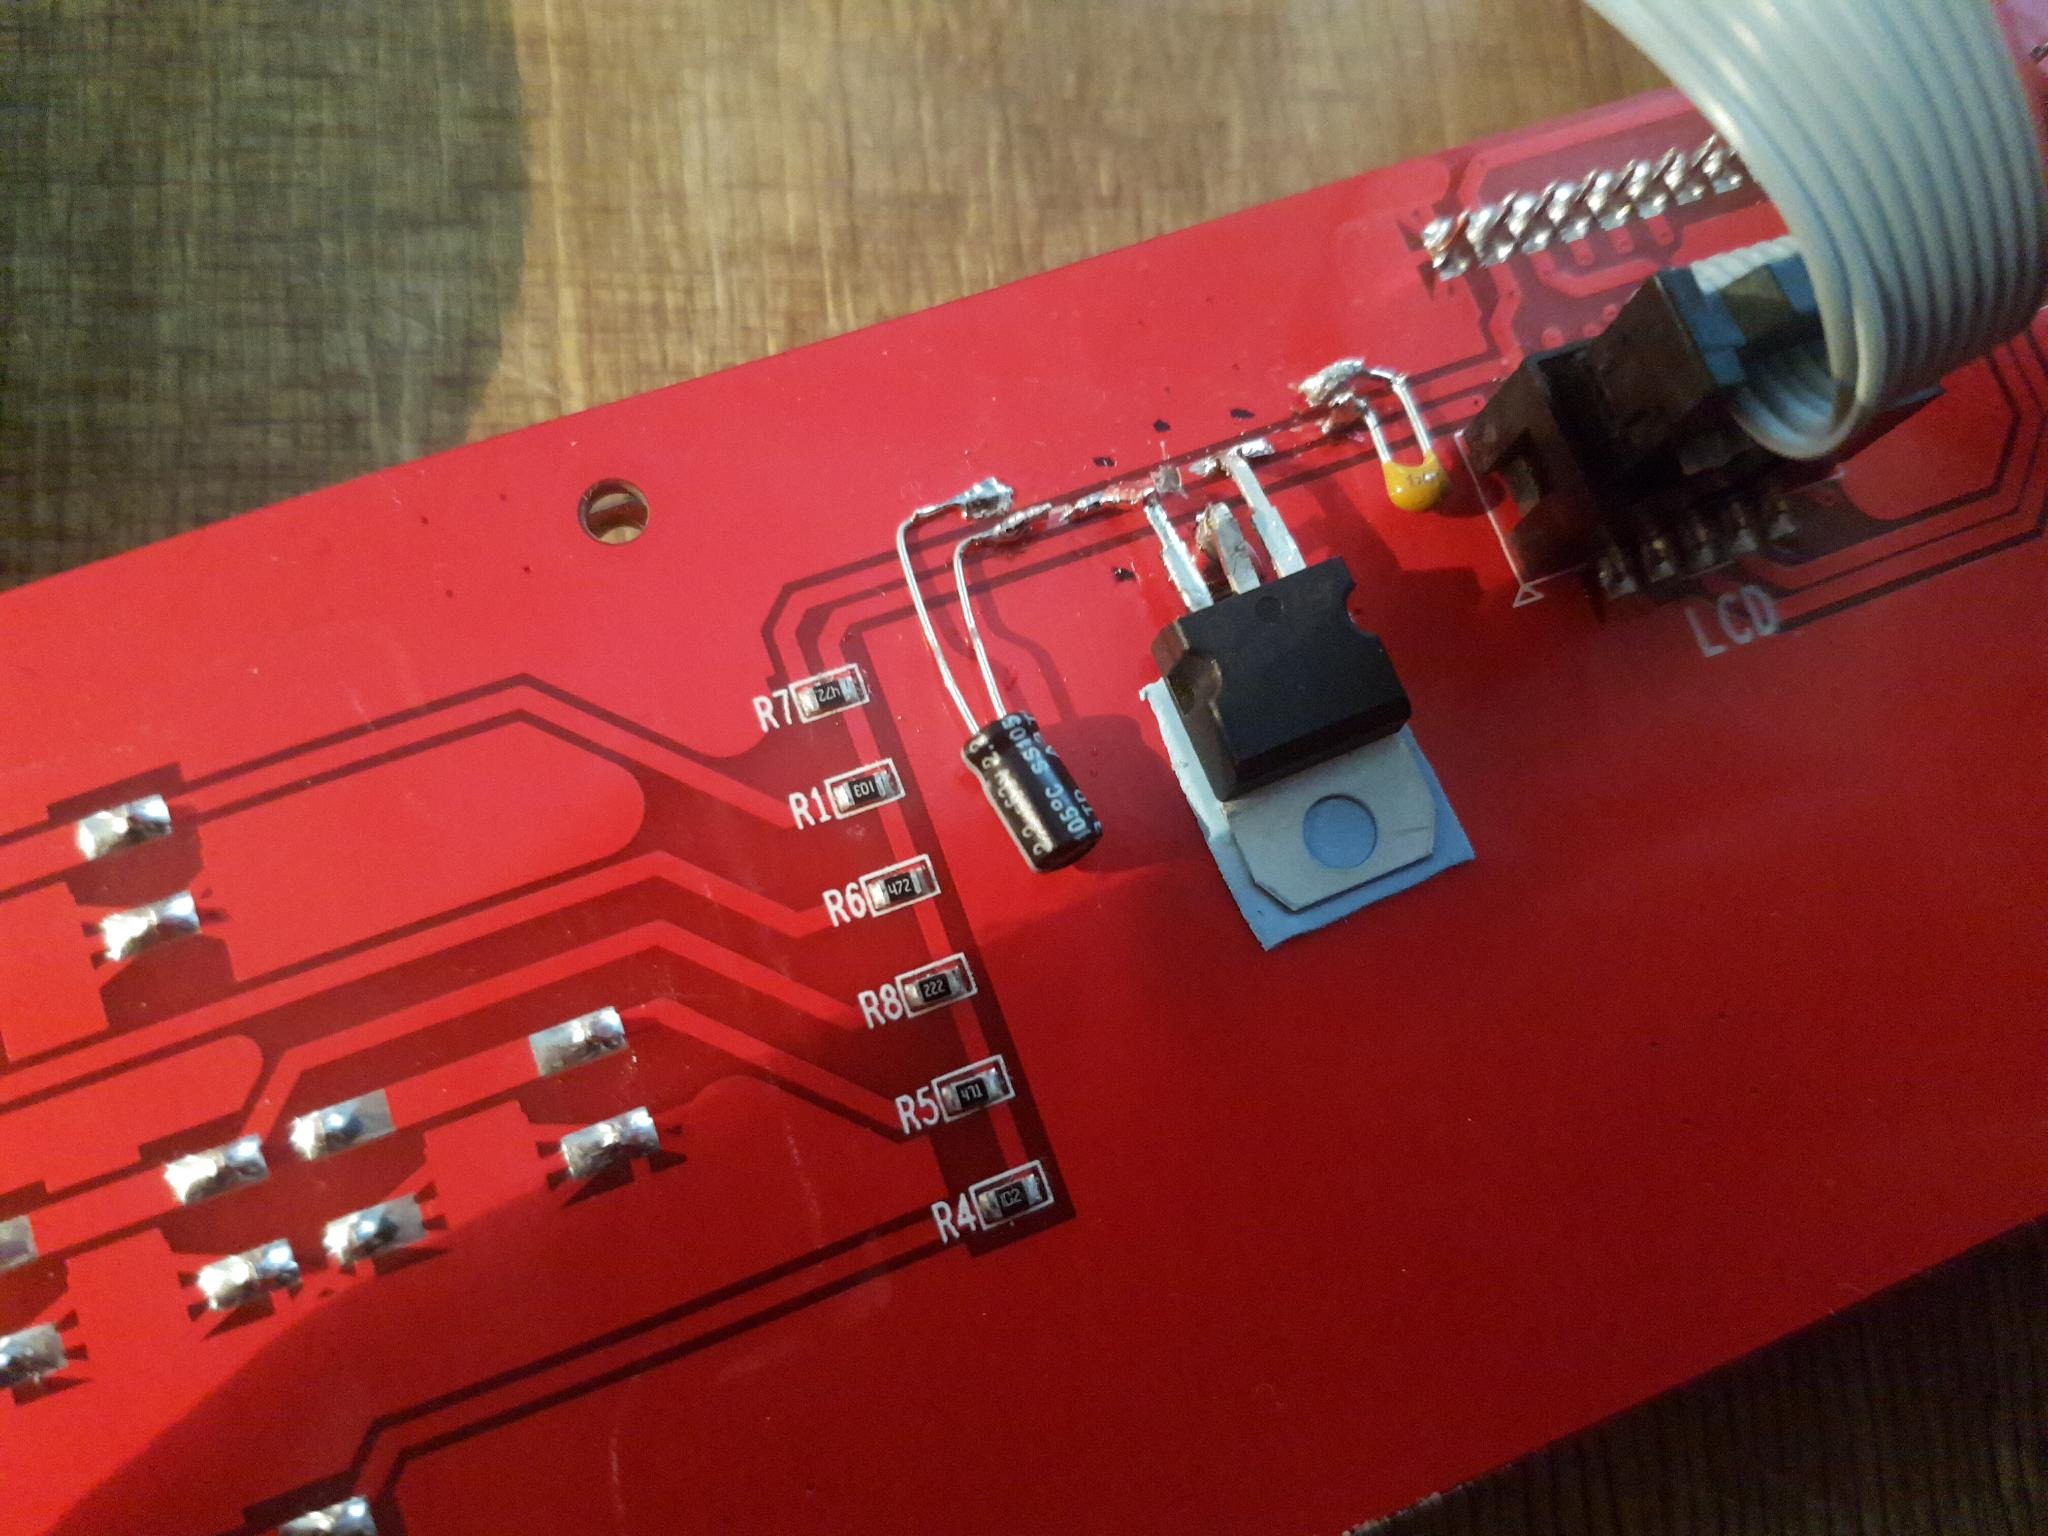
LCD Mod (Use stock Zonestar LCD with SKR boards)
Conclusion
This project will never be finished. The tinkering is a style of usage in itself, and very much fun. Even though I easily spent triple the amount of money I paid for the original kit since then, the resulting printer is still cheaper than ready-built models with comparable featureset and print quality.