
In 2016, I built a CNC laser cutter / engraver. I always wanted to document the whole process, but never got around to do so – until now. Enjoy a multi-part series on how my build went!
Before I start, a word of warning: Lasers can be very dangerous to your health, eyes and general envoirement if misused. Please make sure you have the required training and permits before using a laser. I do not advise you to follow my build steps, please do your own research. Do not try this at home. I will not held accountable for your potential damages or stupidity, you have been warned.
The Idea
The machine was designed to have a cutting surface large enough for roughly a DIN A2 sized sheet of material. It also had to be able to cut paper, carton, vinyl, thin wood and sheets of thin plastic. It should be able to engrave thick plastic and wood. It has to be controllable via a PC using free software. It should be easy to repair.
Rough Part Selection
First, I had to choose the rough direction i wanted to go in terms of hardware. Plastic? Metal? Standard rails? LEGO? This is what I decided to use.
- 2020 Aluminium extrusion for the frame and general structure
- Actobotics pattern system for the precision mechanical parts
- A 445nm 2.5W 12V diode laser module with focus lens
- NEMA 17 motors
- A lead screw / linear shafting drive combination for movement
- Arduino Nano running GRBL for control
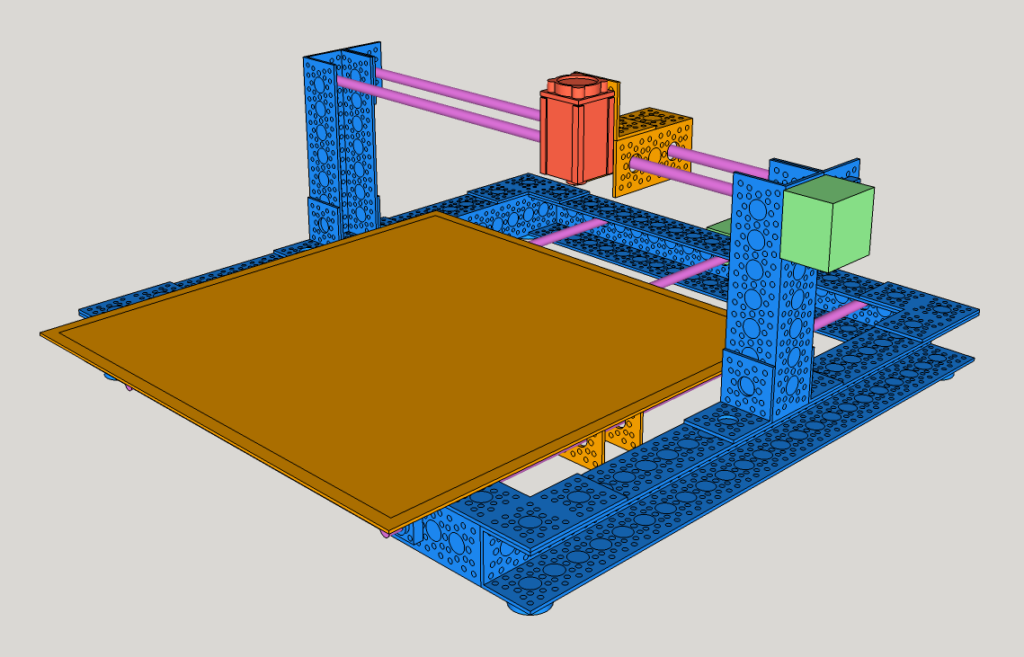
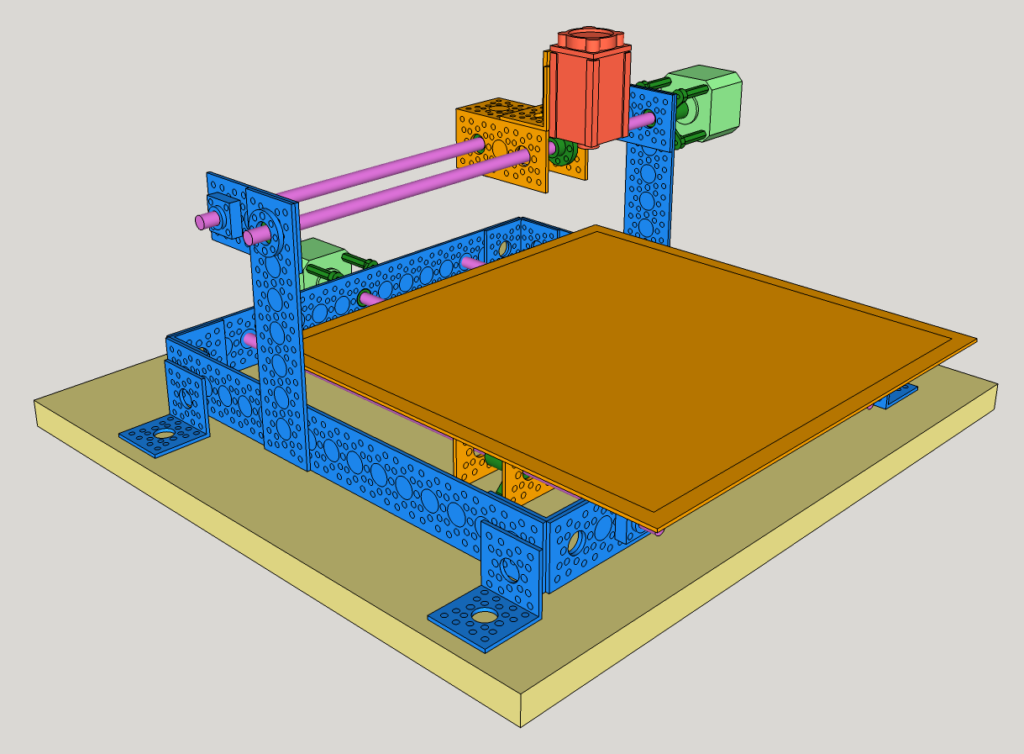
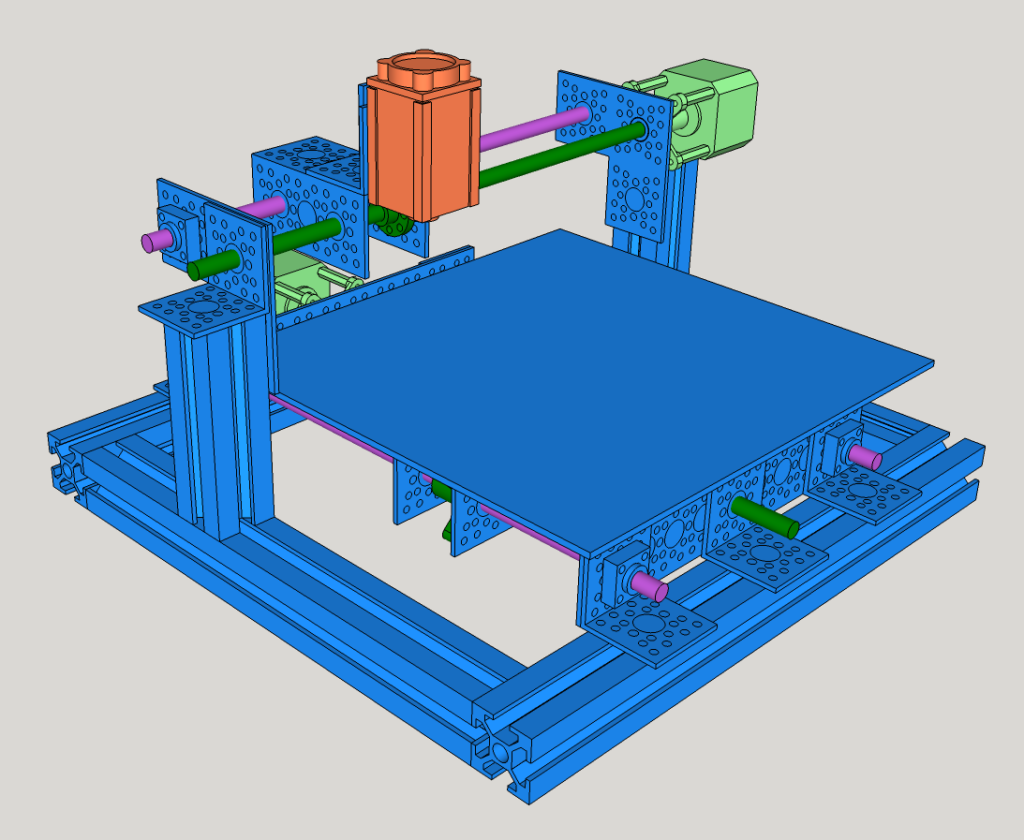
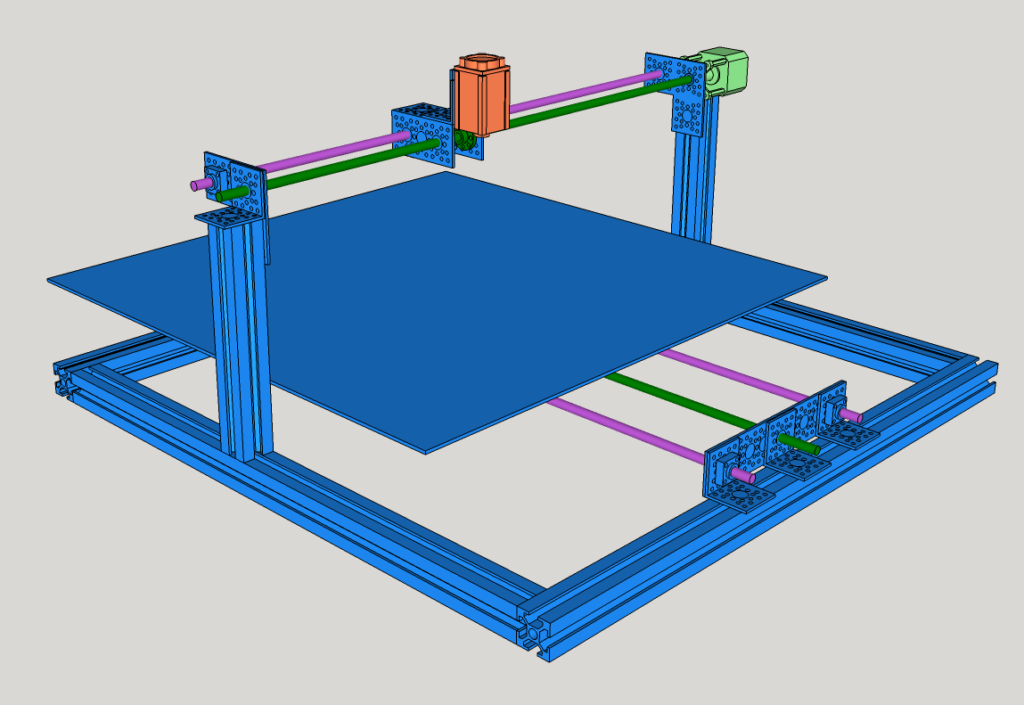
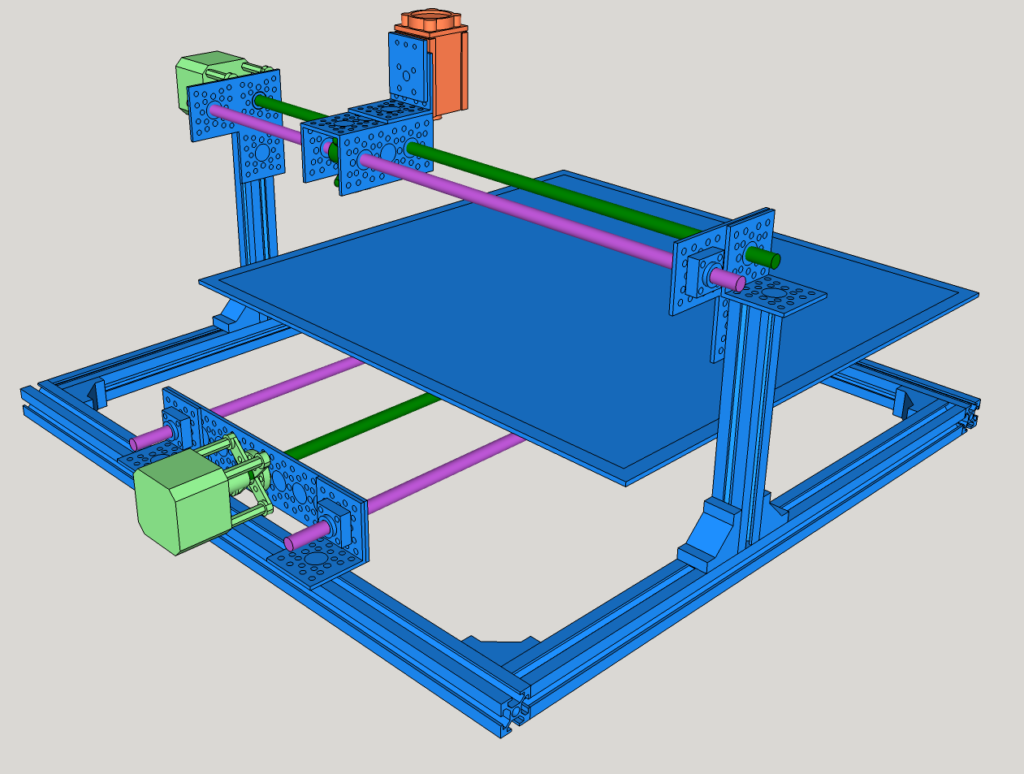
Planning Iterations
Next up, I drew some plans in SketchUp. (I know. This was before I learned to use Inventor/Fusion360)
Software
For the controlling electronics, I used an Arduino Nano, two A4988 stepper motor drivers, a powerful MOSFET for triggering the laser, some limit switches, and various small parts like resistors and capacitors.
I used the excellent and free GRBL firmware on the Arduino. On the PC I use UniversalGCodeSender. To convert SVG images to GCode, I use Inkscape with the J-Tech Photonics Plugin.
You can find the other parts of this series here.