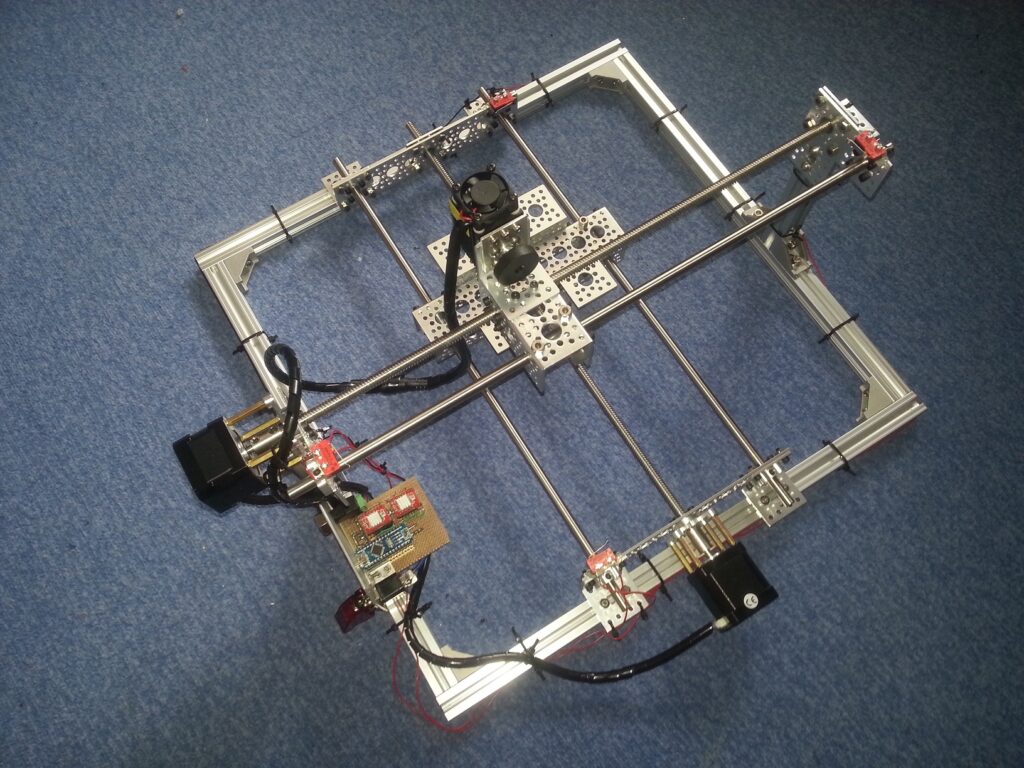
After completing the machnical construction of the laser cutter, it was time for the control circuit. I used a perfboard PSB and soldered headers for the Arduino and stepper motor drivers to it.
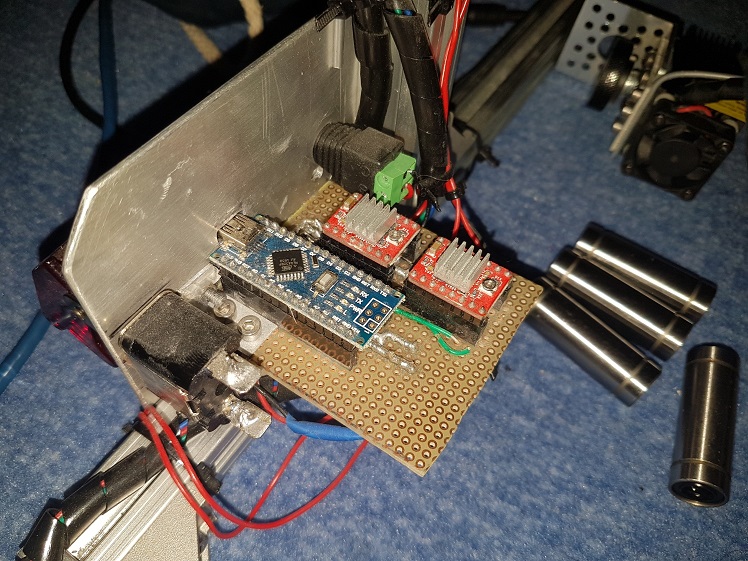
On the bottom, I connected everything up.
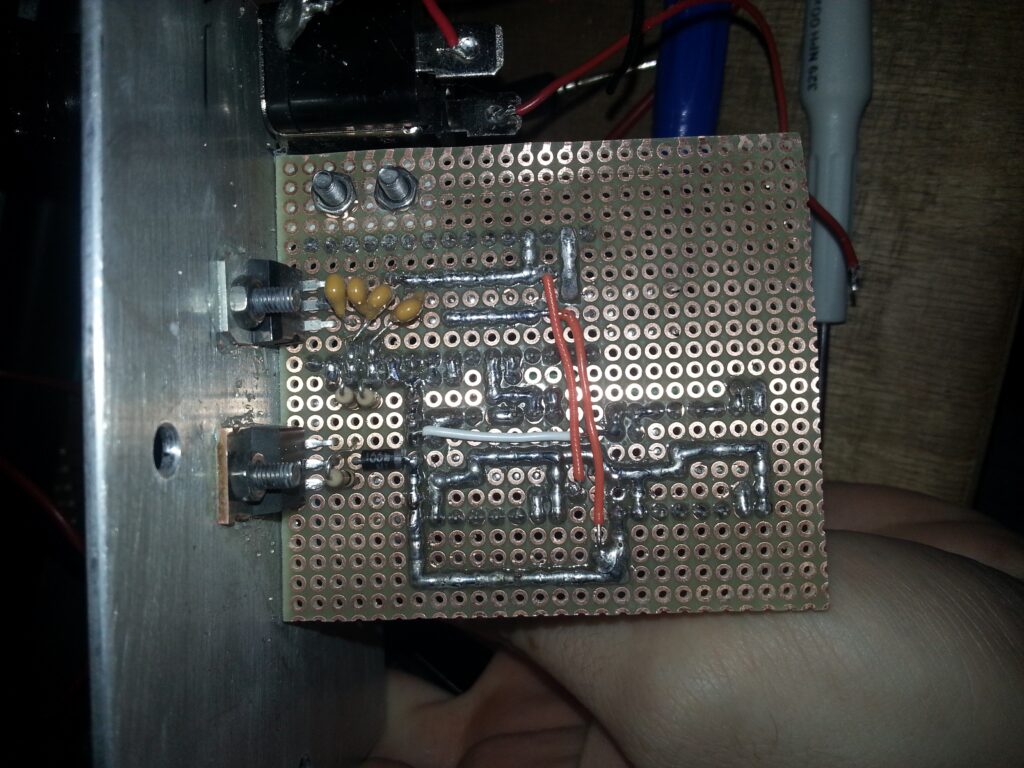
The limit switches needed some simple debouncing and smoothing on their signals, because the cables were so long and the motors produced a lot of EMF noise.
Software
As I mentioned, I used the GRBL firmware. Setup is really easy, just make sure to deactivate any spindle speed up / slow down timings. I think GRBL even has a laser mode. I use a maximum travel speed of 300 mm/min.
You can find the other parts of this series here.